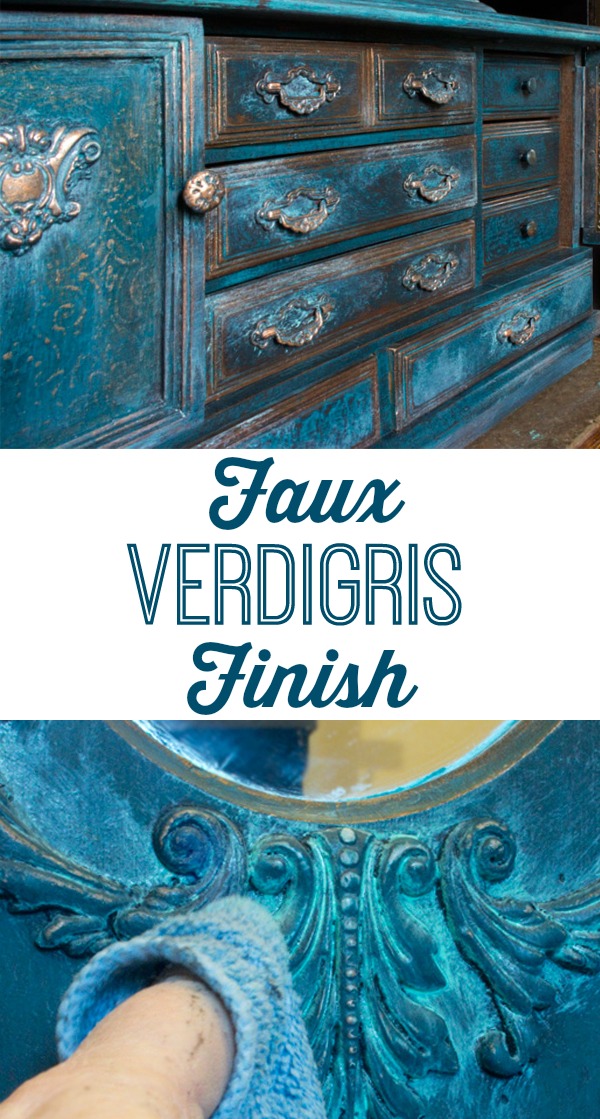
This Faux Verdigris Finish Paint Technique creates luscious results, and it’s super-simple to do!
Join me in this bit of FUN, and you’ll have a wonderful finished piece to show for your efforts!
This post was sponsored by Heirloom Traditions Paint, because they are a wonderfully creative company that supports crazed furniture flippers, like me!
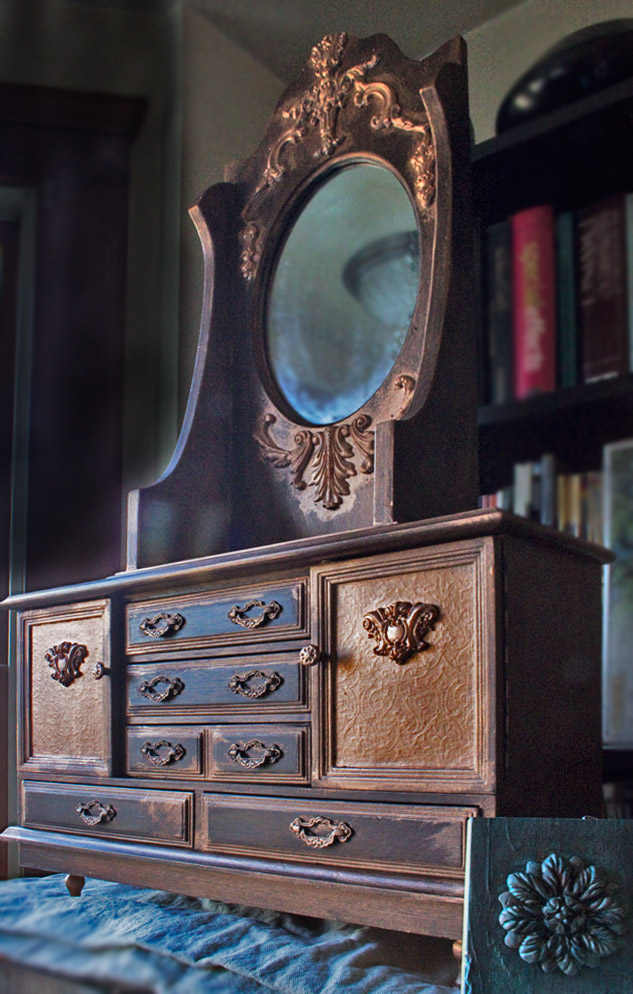
Our journey begins with these two little orphans:
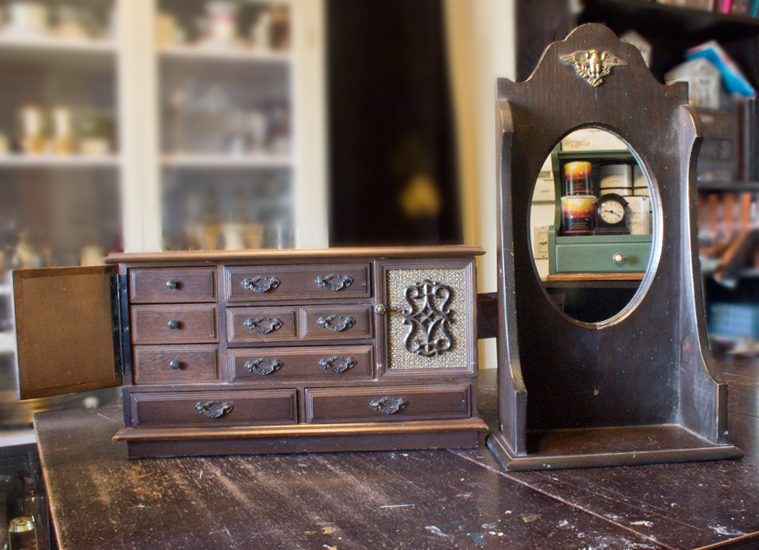
The jewelry chest had amazing detail, but the finish was blah.
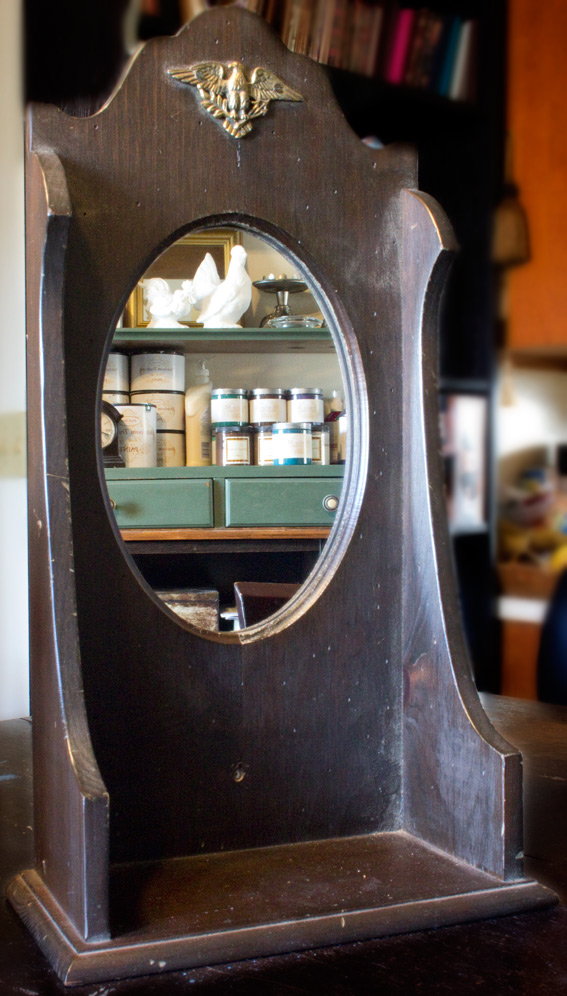
The little mirror had an early American vibe. Nice, but not appropriate for the vision that haunted me.
Somehow, the two pieces just seemed destined to combine forces, and become greater versions of themselves.
I’m just the girl to help with that!
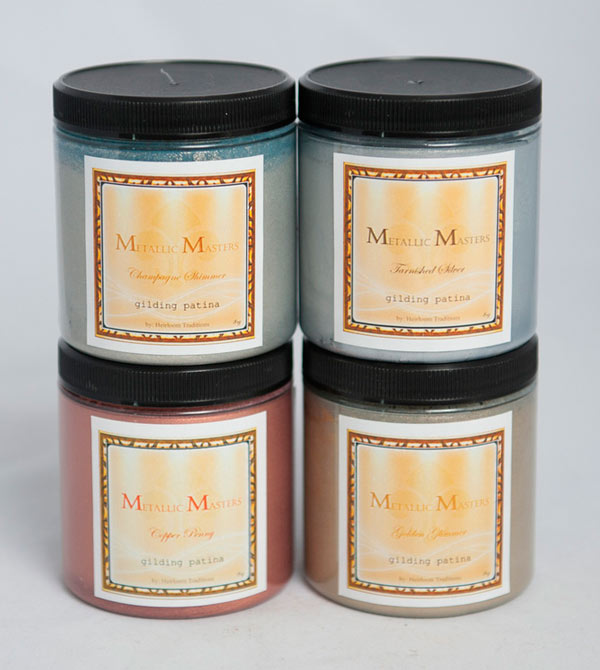
To recreate this finish, you’ll need some stuff!
Supplies:
- A variety of brushes – I used chip brushes, artists brushes and Purdy brushes.
- Rags
- Water
- 220 grit sandpaper
How To Paint a Faux Verdigris Finish:
1. Begin by assessing your subject…Pretty lines on this one. Slightly primitive, but it has feminine potential:
2. Perform any necessary repairs; a little carpentry, some patching, and we’ve established the newly configured piece.
Consider changing out some elements.
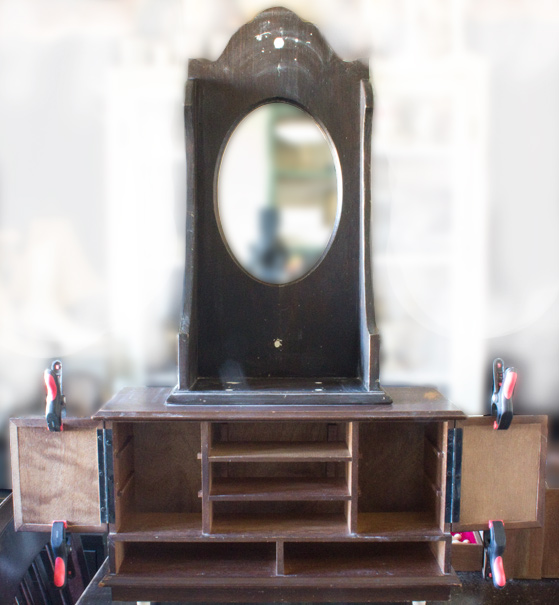
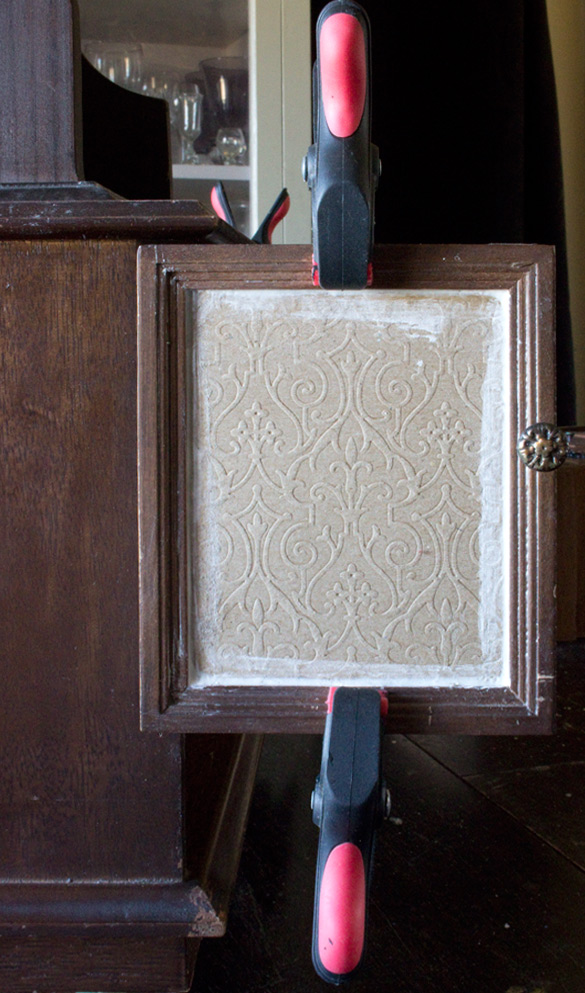
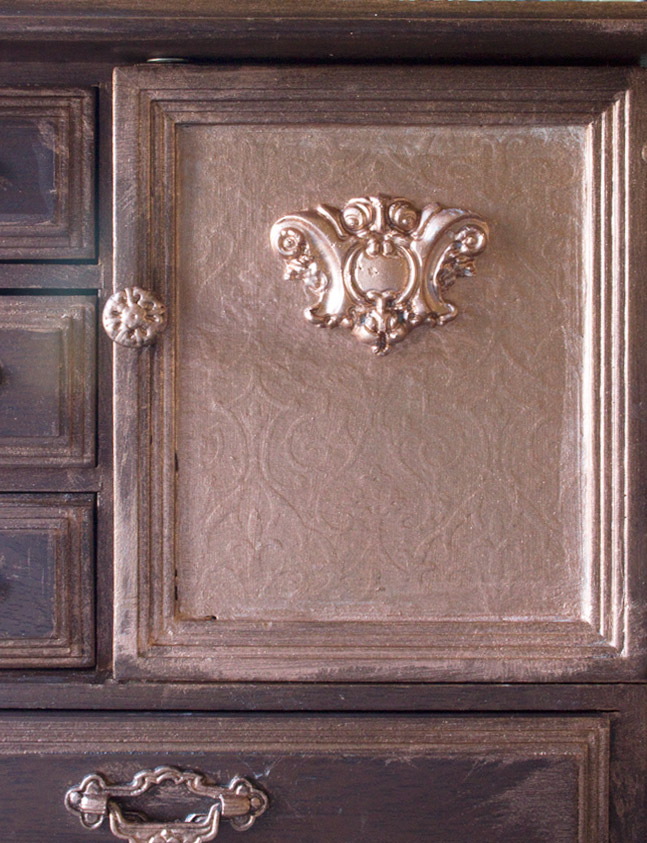
Case in point: the jewelry cabinet doors had dated fabric panels.
Switching them out for embossed chipboard supports the overall design concept.
Think about ways you can incorporate items from your stash!
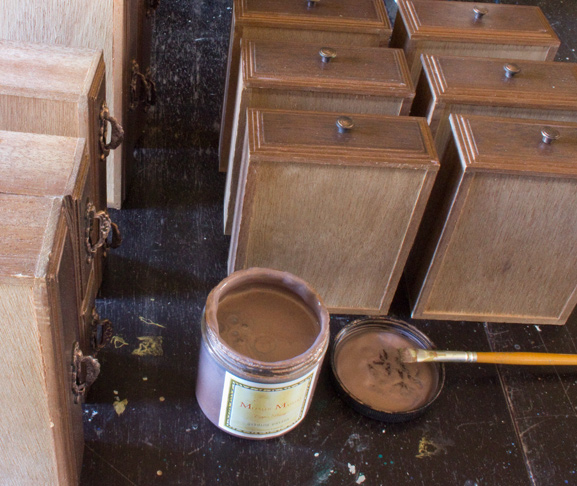
3. To begin the process for the Faux Verdigris Paint Technique, add a layer of Copper Penny Gilding Patina just in areas that will be emphasized in the final finish. This will create a subtle gleam that will shine through when we begin to distress the piece.
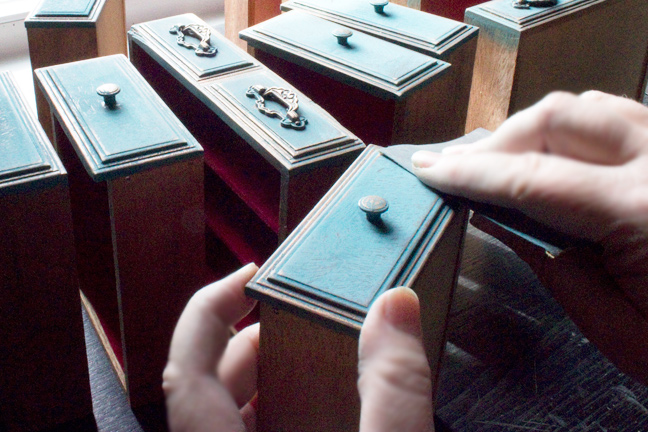
Here, I’m dabbing it on the hardware and any carved detail, like the stepped-profile around the edges of these drawers:
I admit it: I’m in a furniture applique crazed phase.
4. To create this Trumeau effect, just piece appliques together in a pleasing configuration, then affix them with your favorite heavy duty adhesive.
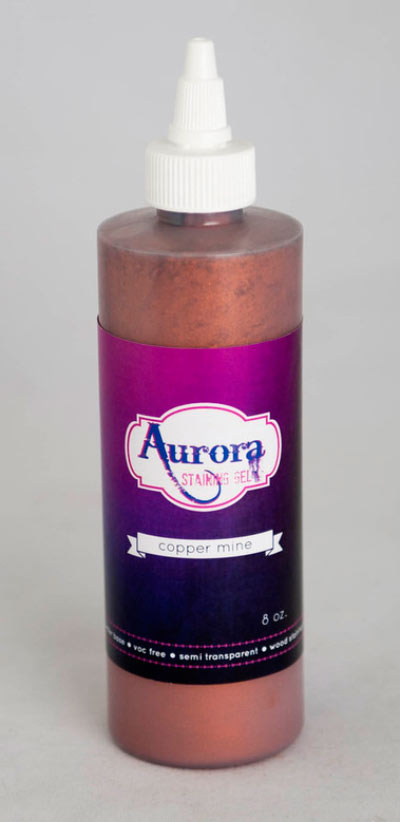
5. Once they are in place, and the adhesive has cured, add a sloppy layer of Copper Mine Aurora Staining Gel to the appliques, and to any areas you wish to highlight.
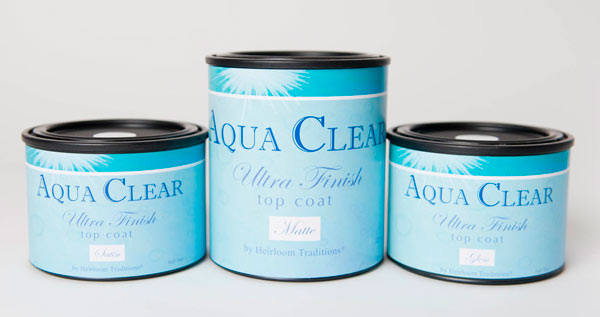
6. Once the Staining Gel has dried, apply a coat of Aqua Clear. This will protect the Copper accents when we begin to distress the surface.
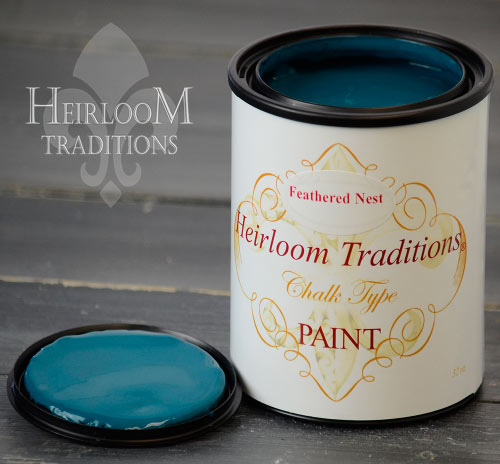
7. When the Aqua Clear has cured (it’s FAST) add a layer of Feathered Nest Chalk Type Paint right over the top of all the metallic detailing:
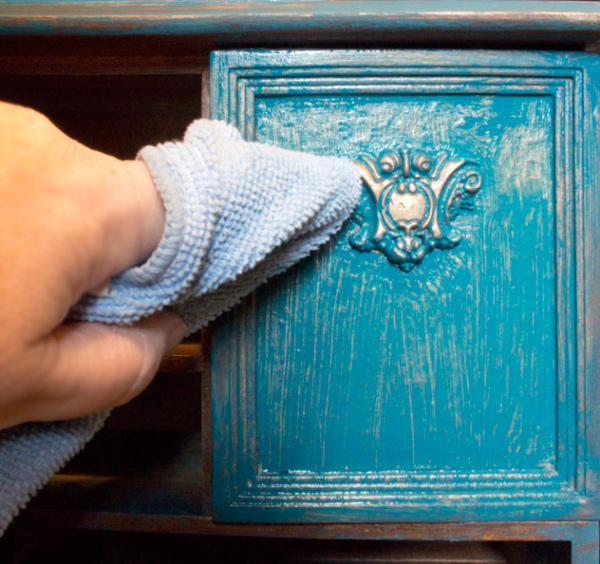
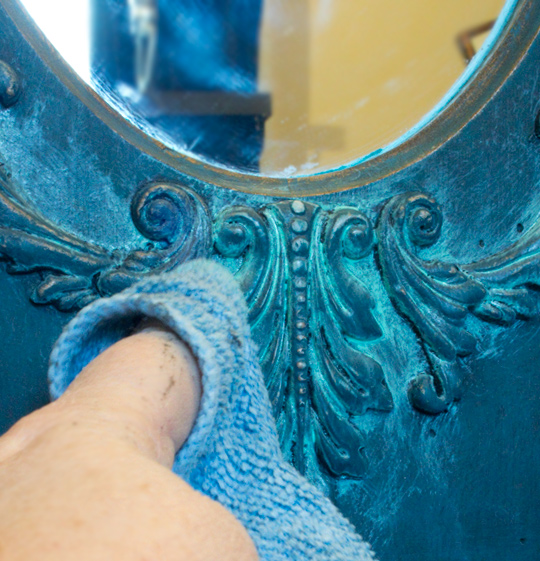
8. While the paint is still curing, use a damp rag to Wet Distress the surface where you wish the Copper to shine through:
9. When the paint has cured, lightly distress the edges and corners of the components with 220 grit sandpaper, allowing the copper to peek through:
10. Paint on a generous layer of Jet Black Spray Wax:

11. While the wax is still wet, use a damp rag to smooth it into the surface. Love how it deepens the paint color and emphasizes the copper accents!
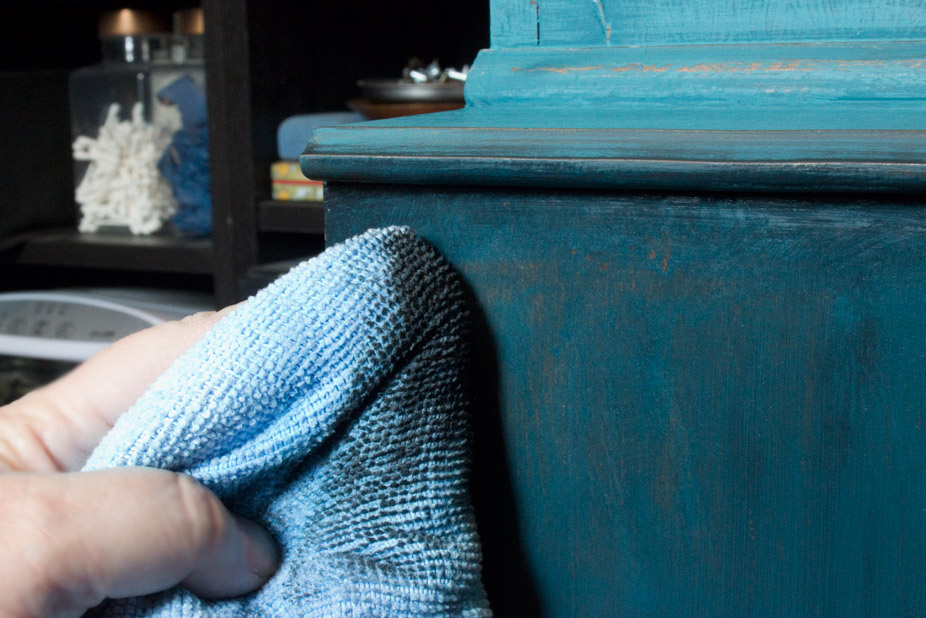
12. If you have raised texture, lightly sand the surface to allow the metallic touches to emerge.
I adore the impression of ancient, worn texture here:
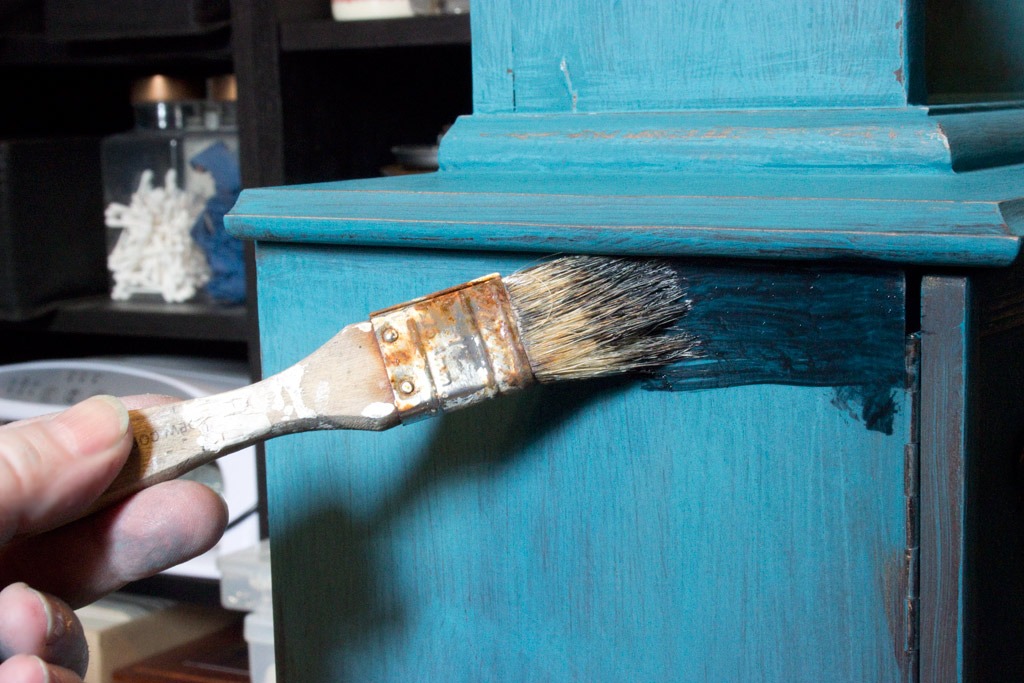
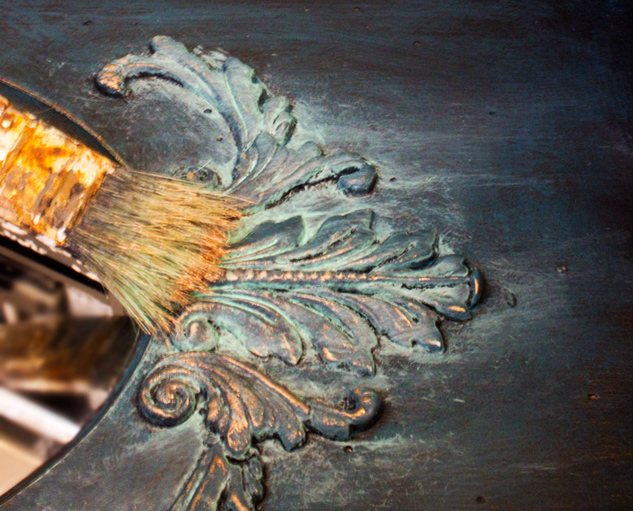
13. Use a chip brush to add a messy coat of Oxidized Patina Spray Wax on the sculptural detail:
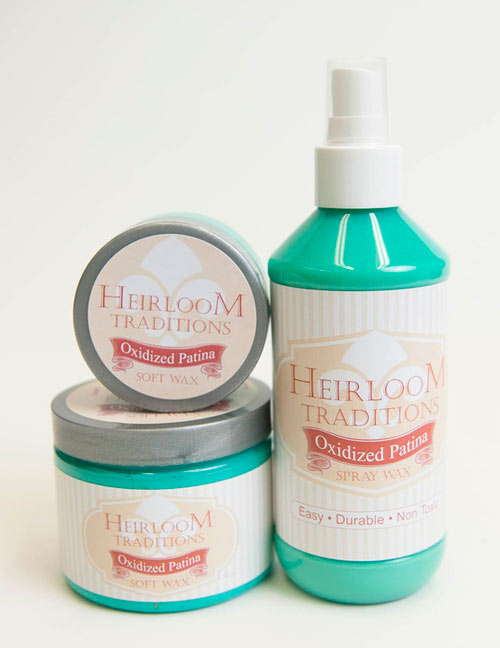
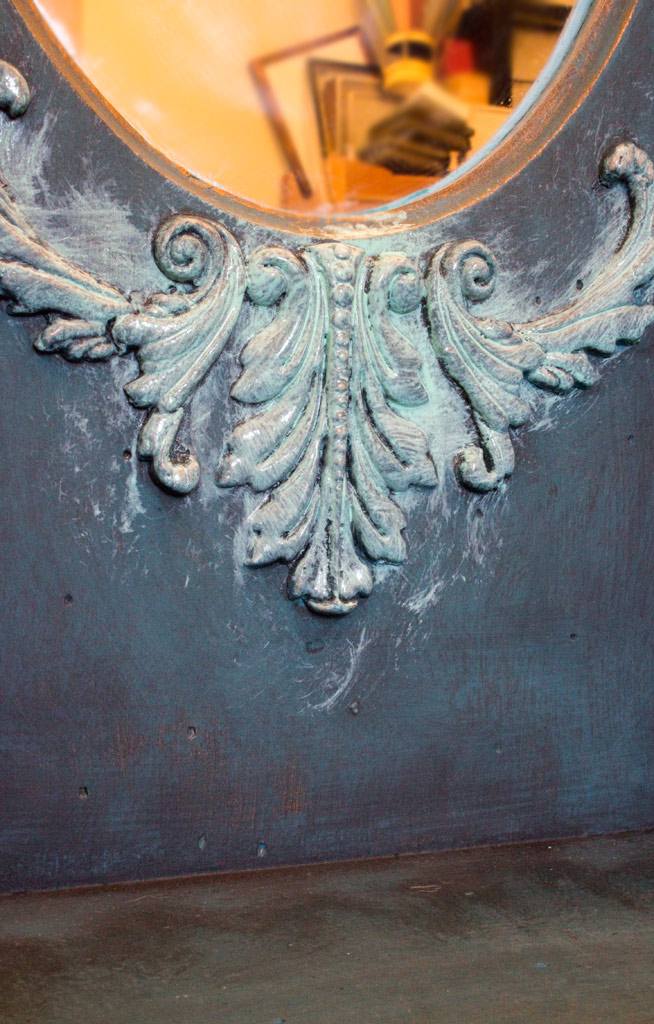
14. While the Oxidized Patina is still moist, wipe it back with a damp rag.
You want the brilliant color to gather in the crevices.
Allow a bit of pigment to drip down the surface, to mimic the action of true verdigris.
15. Add additional Copper Mine Aurora Staining Gel to the high points, using a dry brush technique.
Here you can see the ‘drips’ added below the detail.
16. Allow the finish to dry thoroughly, and add a top coat of Aqua Clear. That’s it.
(I used the Matte version)
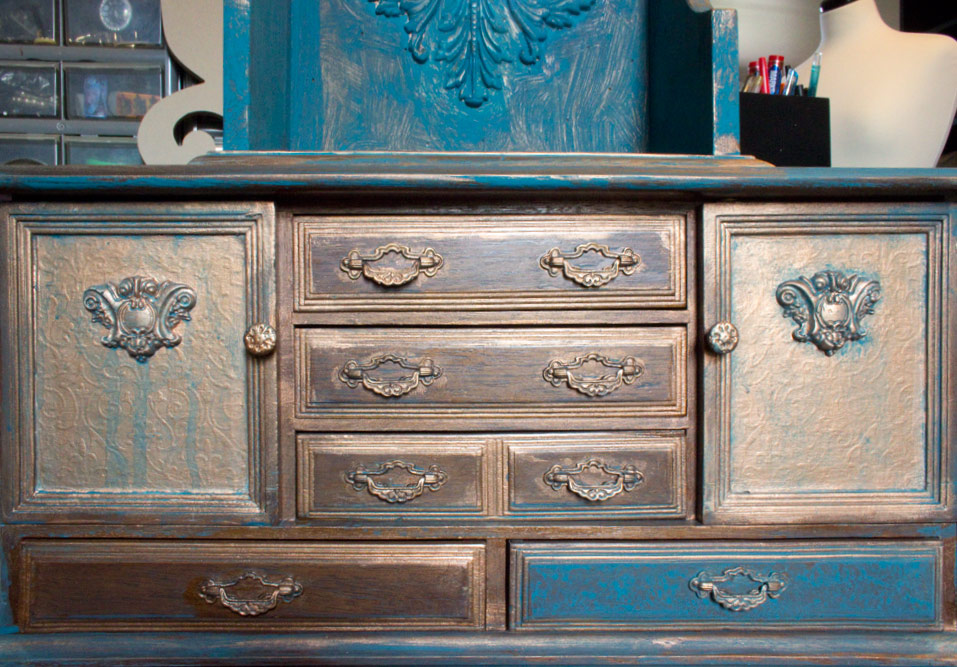
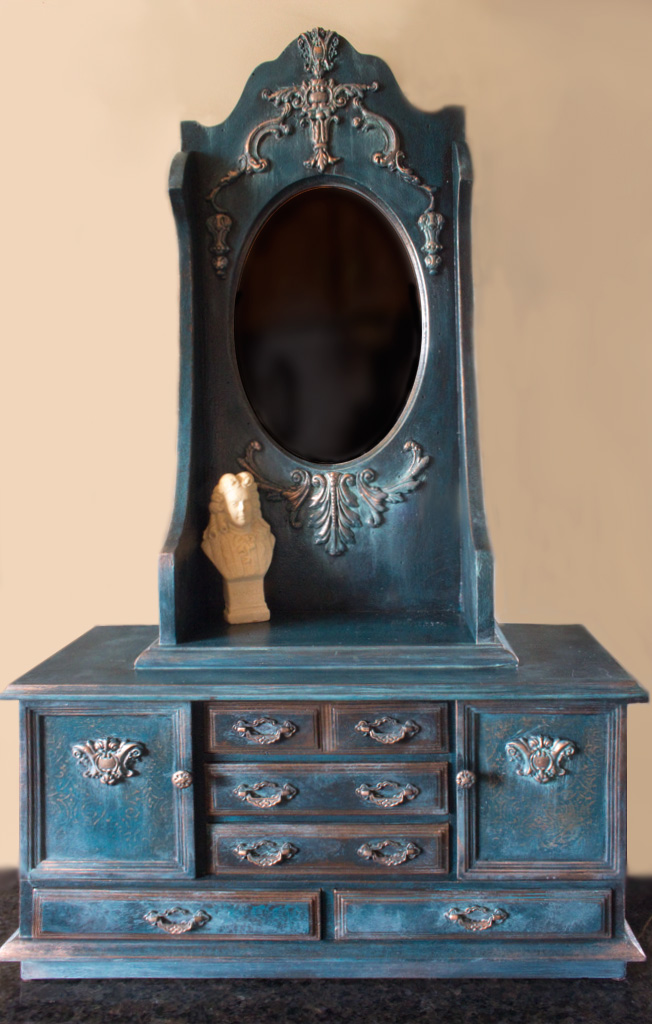
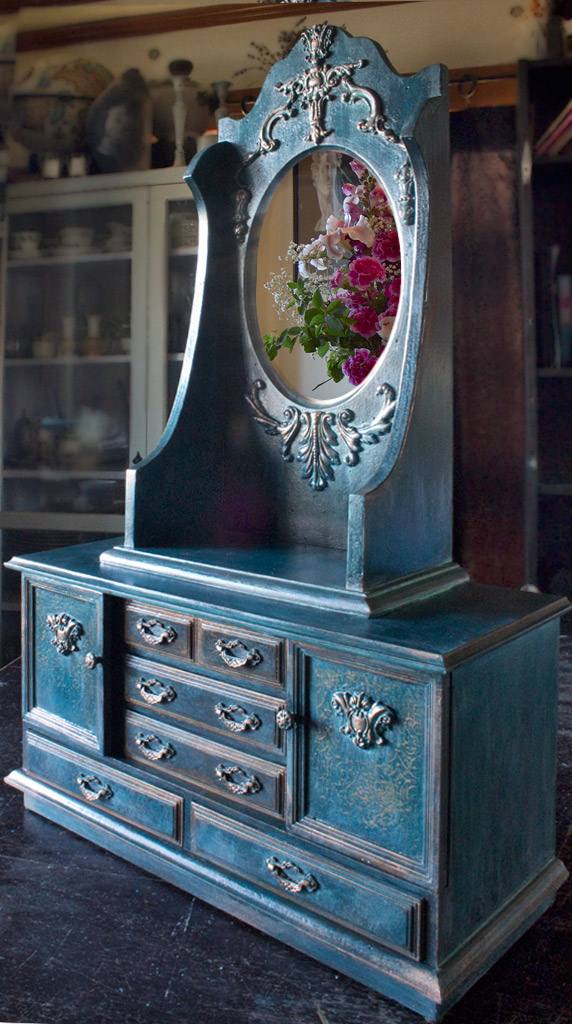
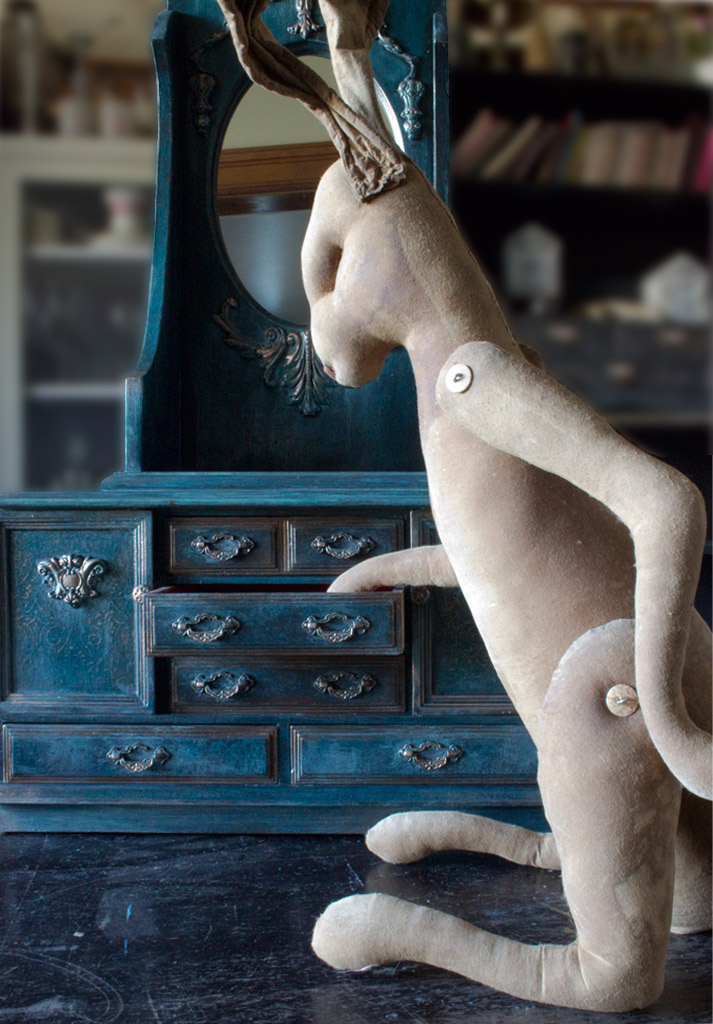
Ah. That’s better. Our orphans have joined together to create a grand statement!
Using the Oxidized Patina and Jet Black Spray Waxes is so easy.
The resulting ‘Abandoned Chateau’ vibe is one of my favorites!
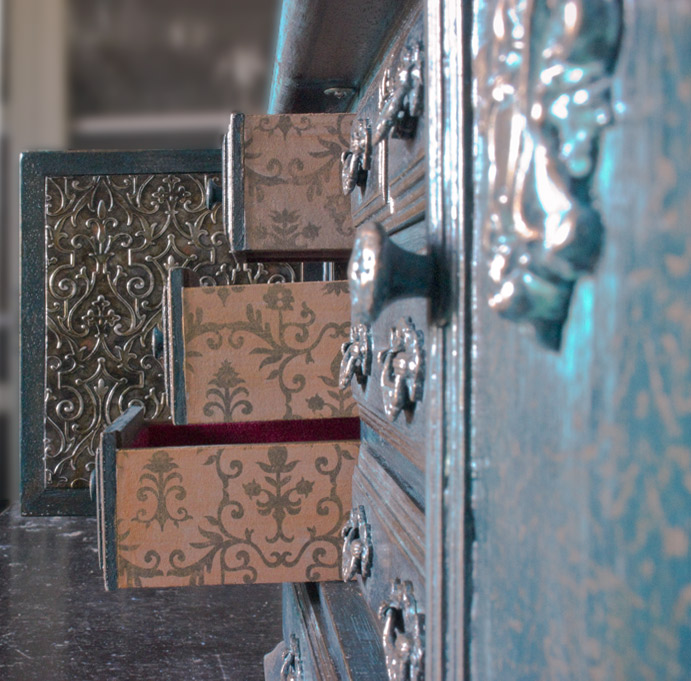
Just to spice things up a little bit, I added panels of Embossed Metal Tape to the interior of each door. To learn this fun technique, click HERE.
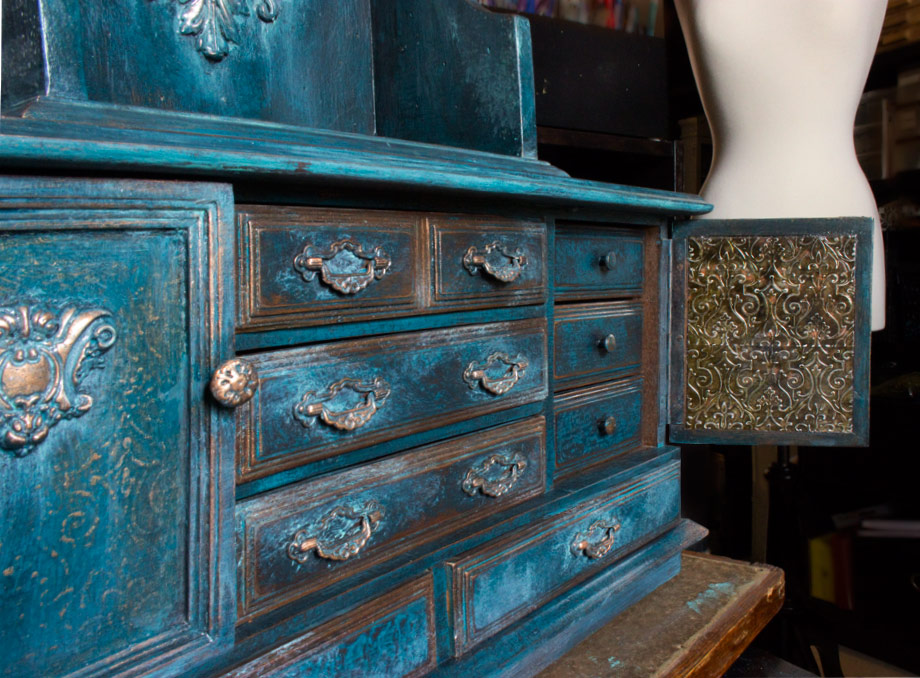
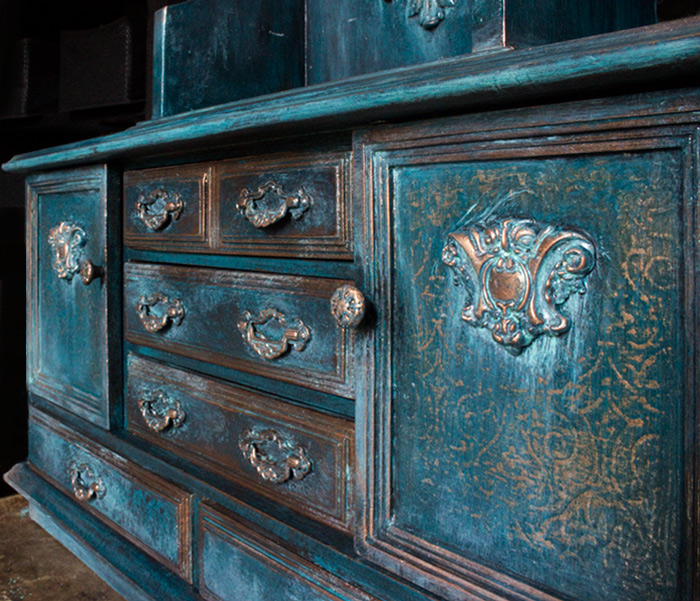
Touches of decoupage add interest to the drawer sides:
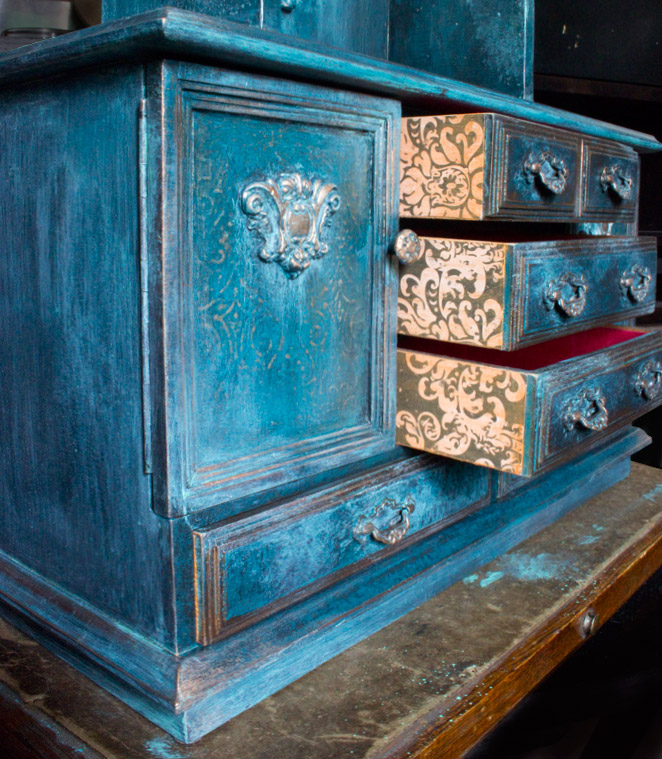
Being a ‘more is more’ kinda girl, I appreciate the matte, metallic, textured and patterned surfaces:
This one’s not going ANYWHERE. She must stay with me, and keep my treasures safe!
Only Mr. Hedgerow is permitted access, from time to time…
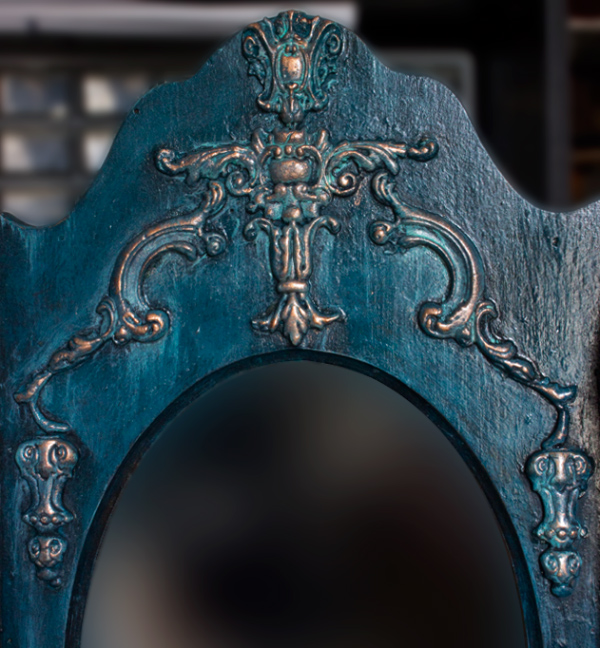
Trumeau detail:
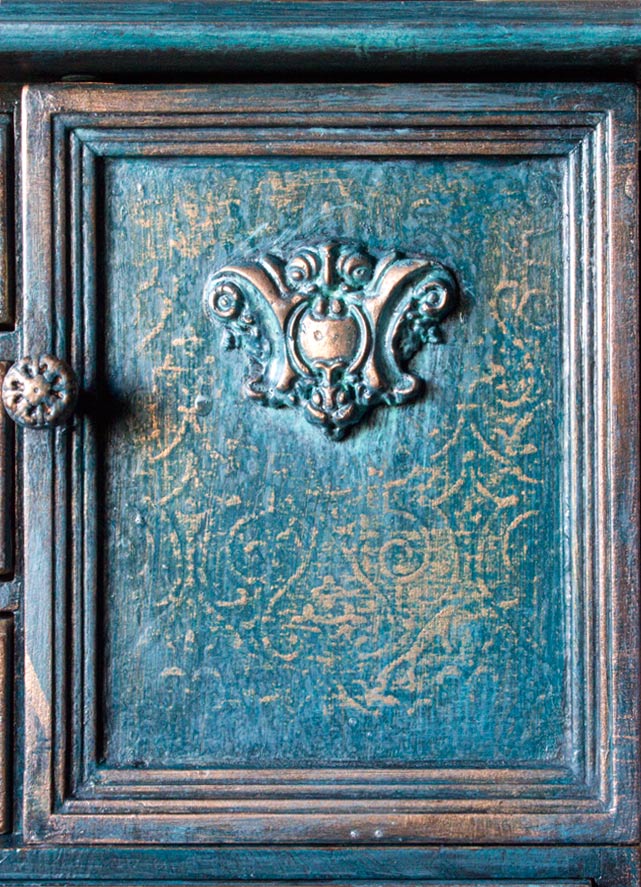
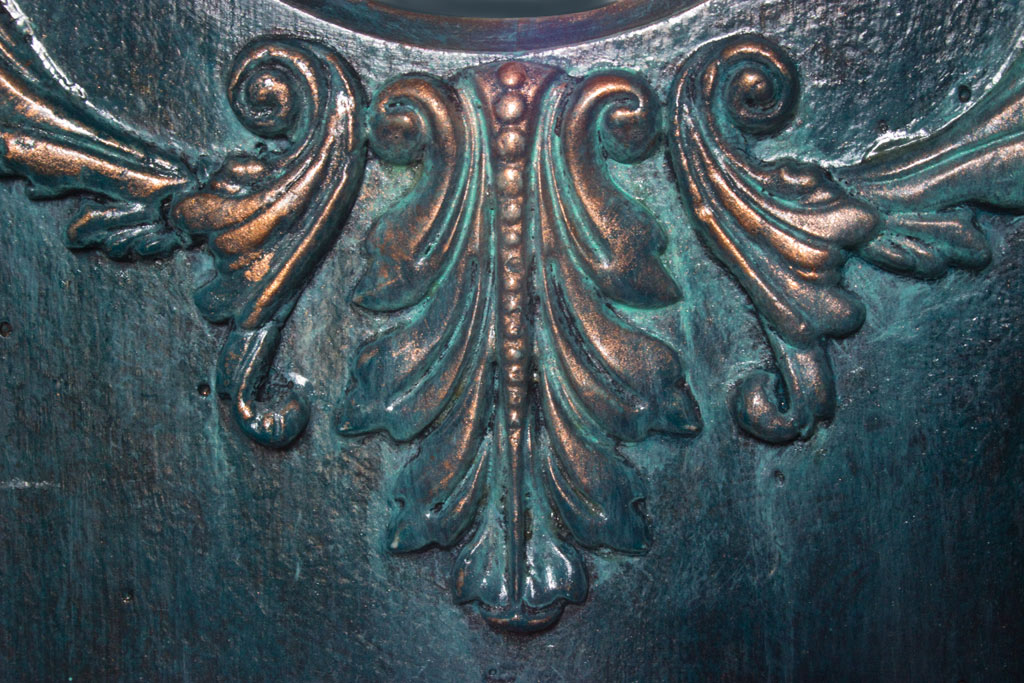
Close up of Acanthus detail with Faux Verdigris Finish:
For more information on Heirloom Traditions Products, please visit www.heirloomtraditionspaint.com
* Full Disclosure: Heirloom Traditions supplied their products to be used in this project, and they sponsored this post – however, I supplied the elbow grease, rescued furniture, design concept, and experimental insanity! All of which reflect my own point of view, regardless of affiliation…
It’s a pleasure to share this Faux Verdigris Finish Paint Technique with you…
My hope is that you feel confident in your ability to add a bit of verdigris wherever required.
In my case, this could mean on anything that isn’t breathing!
Thanks for visiting The Graphics Fairy today!
If you like quirky finishes and odd experiments, stop by Thicketworks to say ‘Hi’…you’ll find a bewildering assortment of fun and funky techniques to try!
Heather
You might enjoy:
Original article and pictures take thegraphicsfairy.com site
Комментариев нет:
Отправить комментарий