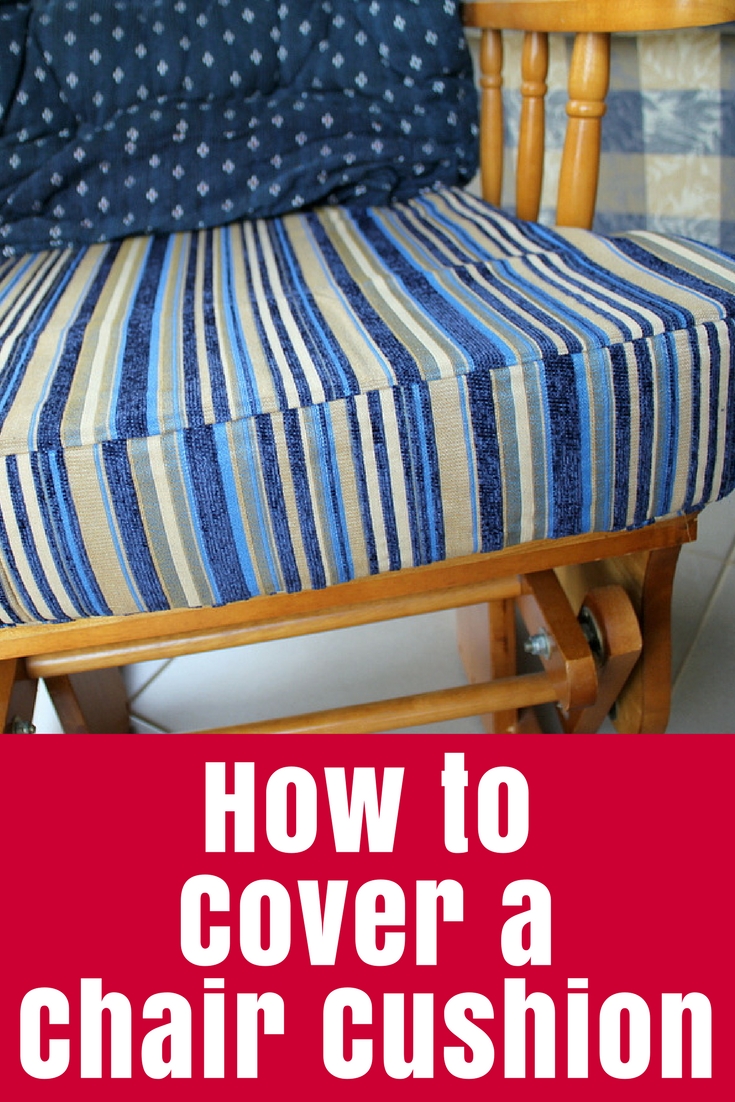
Step by step tutorial on how to cover a chair cushion by sewing a new cover – with a little baby vomit story thrown in!
When I was pregnant with my first baby, I was sure I needed a rocking chair. I had lovely pictures in my head of rocking them to sleep, and reading them stories as they grew. So CraftyDaddy dutifully bought me a glider rocker and I loved it. Later it sat in Baby #2’s room and was used to rock him to sleep. But my most vivid memory of Baby #1 and the rocker is not at all the pretty picture I had imagined. Why don’t I just share this little tutorial then I’ll tell you the funny story at the end?
Years have passed and the seat cushion of the rocker was in sore need of a makeover. I had removed it because it looked so tatty! Under the cushion was a layer of fabric with a thin foam backing then wire springs under that.
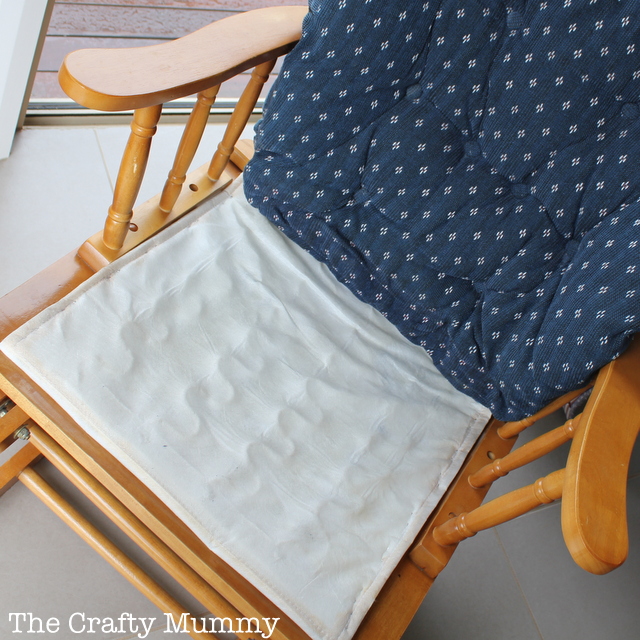
The first step was to remove the thin foam – which was slowly disintegrating anyway – from the fabric and replace it with a new piece. I found this foam in a small roll at Clark Rubber. After cutting it to size, I simply stapled it in place. The original had been stitched into the seam of the fabric piece, but to do that would have involved removing the fabric, sewing the foam in and them stapling the fabric back into place. My way was much quicker and it will always be covered by the cushion so I figure it doesn’t have to look flash. You can’t see my staples, can you?
How to Cover a Chair Cushion
What You Need
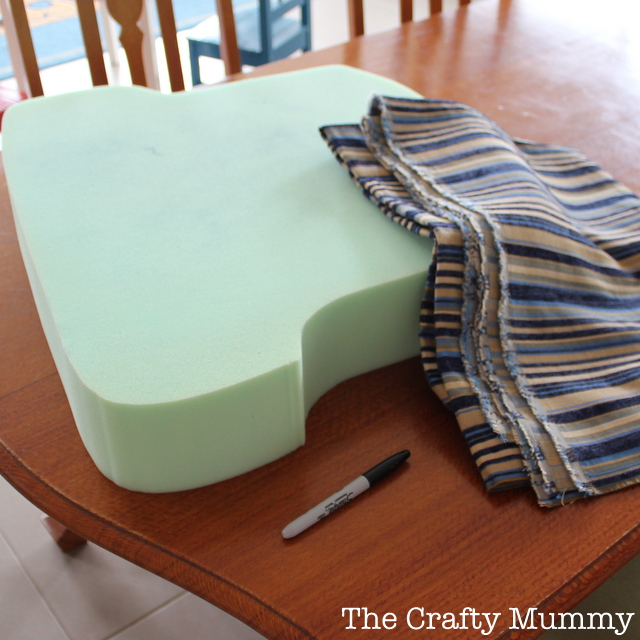
Let’s talk about the foam: I took the old cushion into Clark Rubber and chose the replacement foam thickness. The staff then used the original cushion as a template to cut the new foam piece. They have a special saw like a jigsaw with a straight blade which they use. Easy!

What To Do
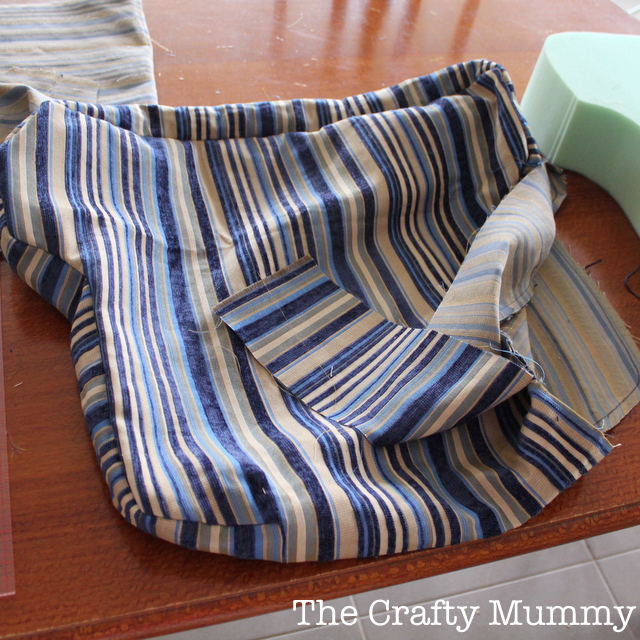
1. Fold your fabric in half with right sides together. This will let you cut the top and bottom pieces for the cover at the same time.
2. Position the foam on top and draw around the shape. My foam was about 4″ tall so I positioned it so that the back of the seat was parallel to the fold in the fabric and about 2″ in. Once cut that 2″ unfolds to become 4″ and the back of my cushion. I drew my shape from the back where it started to curve, up the side and around the front, and back to the curve at the back on the other side. (You can get an idea of the shape I ended up with in the photo below. It is sort of like a large number 8.)
If your cushion is a square or rectangle you could do the same with one side being in the fold. If your cushion is a circle or oval, just draw all the way around your foam and cut two circle or oval pieces.
If you have fabric with a directional design, like my stripes, make sure you think about how the design is going to line up on the cushion. Do you want the stripes across or down or diagonal?
3. Cut about 1cm outside the shape you’ve drawn – the extra 1cm will be the seam allowance when you sew.
4. Also cut a strip 2cm wider than the depth of your foam and long enough to go all around the side. I had to join two strips together for mine to make it long enough.
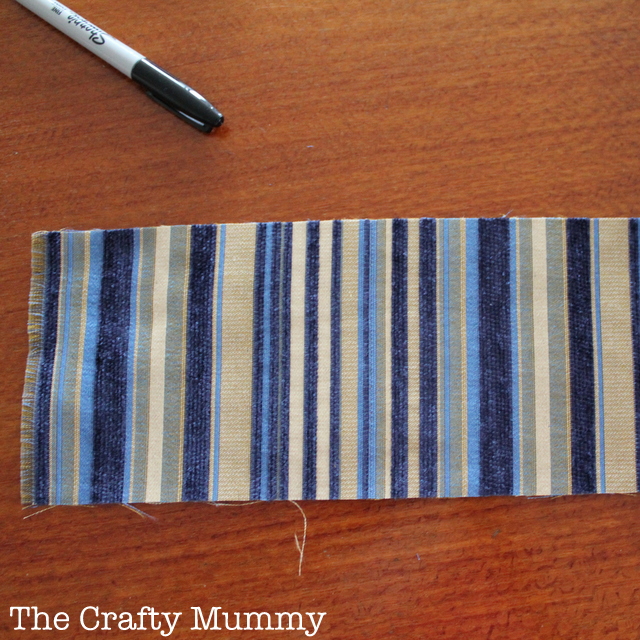
5. Open out your fabric shape. The long strip is going to be the wall of the cushion cover.
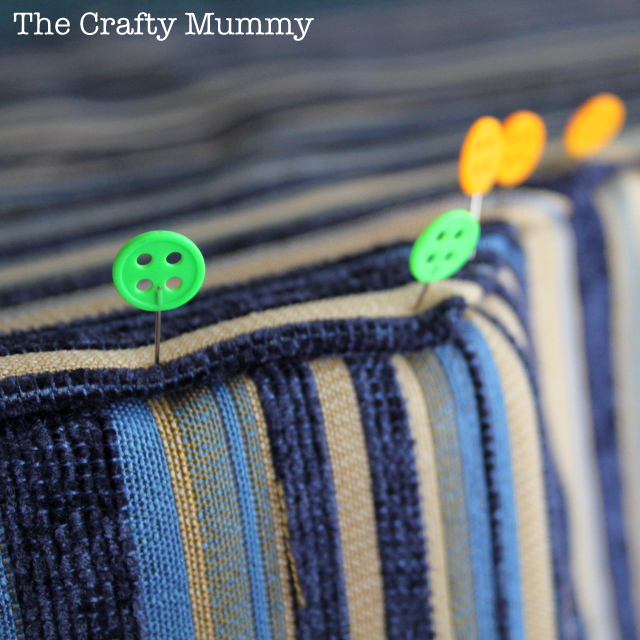
If you have two separate shapes, then you can measure the exact length you need for your strip, cut it and join it to create a loop. Then pin the strip to one of your shapes with right side together all the way around and stitch into place.
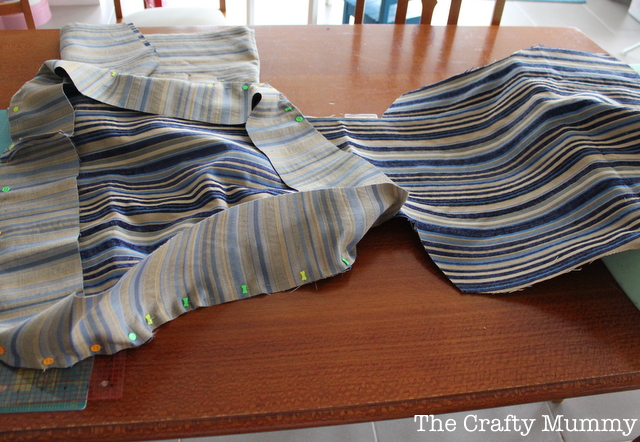
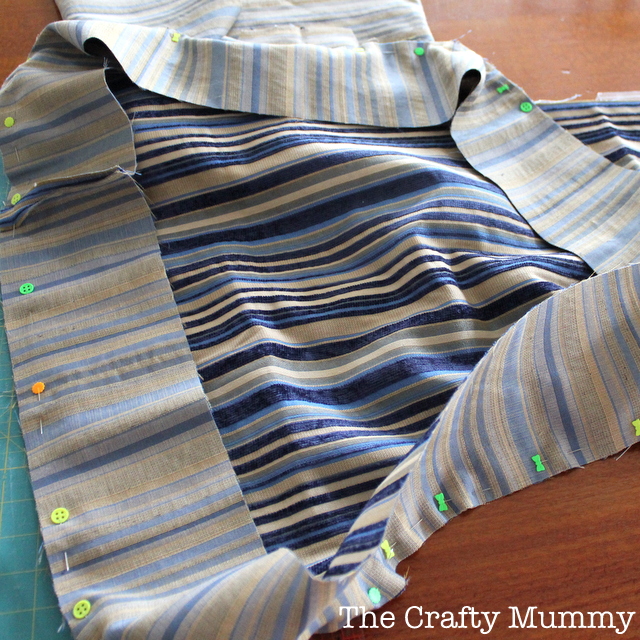
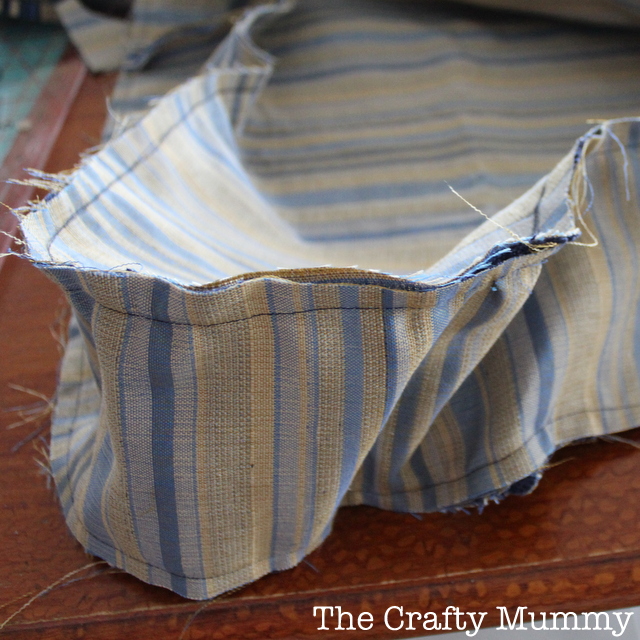
If, like me, you have a “back wall” created by the fold of the fabric, then start pinning one end your strip to the side of the back wall with right sides together. Pin the strip all the way around to the other side of the shape but not onto the second “back wall”. Stitch it in place. You can trim off any excess from your strip if you want to but I waited to trim after I had the cushion inside the cover.
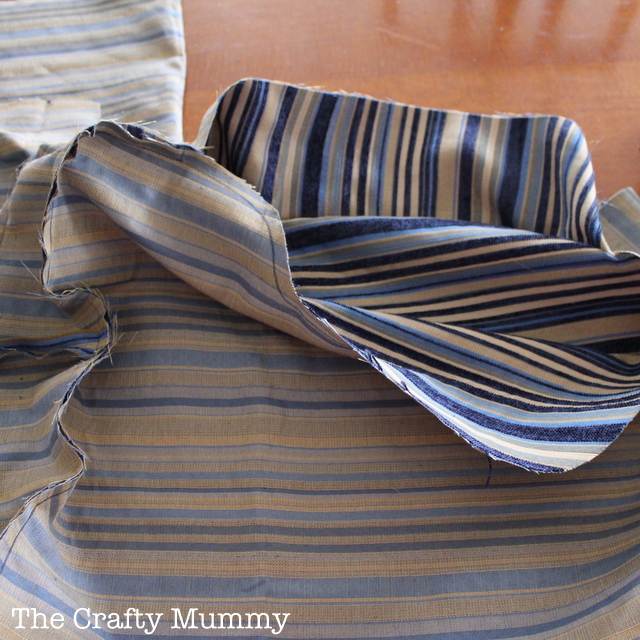
6. Now we’re going to join the strip to the second cushion shape, but instead of pinning and sewing all the way around the shape, we need to leave a hole for turning and then putting the cushion into the cover. I left one whole side of my cushion cover open and it was a tight fit to get the cushion in, so make sure you leave quite a big gap.


Pin the strip to the second shape again with right sides of the fabric together. I’d suggest you leave the gap for the cushion at the back or side of the cushion so that the front of your cushion that will be seen on the chair is nicely finished. Sew the seam that you’ve pinned.
7. Clip the seam allowance. This means making little cuts into the extra seam fabric every couple of centimetres all the way around the cushion cover before you turn it through. On a really curvy cushion like this one, it is very important so that the seams sit nicely when you turn them through. On straight seams, it is not as important but even then make sure your clip the corners. Whatever you do, don’t cut through the stitching or you will create a hole!
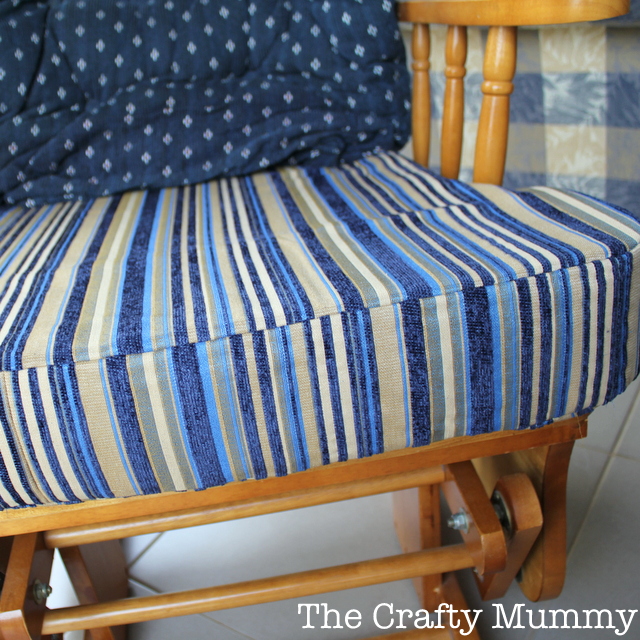
8. Turn through the cover. I love how the stripes are vertical on the sides of my cushion!
9. Nearly done! Insert your foam into the cushion cover. That sounds easy but if it is a nice tight fit, it will be kind of tricky. Just take it gently so you don’t rip any stitching. If you do, don’t panic. You can just hand stitch it again once you have the cushion in place.
10. Pin the opening closed, carefully tucking the seam allowance inside as you go along.
11. Hand stitch the gap closed.
Done! Back to my story…
Little Miss, my Baby #1, was tiny and had just had a feed. So I’m sitting in the rocking chair with her in my lap facing me having a little chat. She’s starting to look a little drowsy and I’m thinking “Oh good! Sleep time!’. Her eyes are drooping and she’s nearly asleep, when suddenly she opens the eyes, looks up at me and vomits warm milk back all over my shirt!! Arghh! Then she happily closes her eyes again.
I just burst out laughing! This sweet little baby had just caught me! I had to clean myself and the chair arms from memory. Needless to say, I learnt my lesson and was a little more careful about how I held after feeds from then on. Ahhh… the lessons a new mummy learns!
Anyway, I hope you enjoyed the story as well as the cushion cover tutorial.
Original article and pictures take thecraftymummy.com site
Комментариев нет:
Отправить комментарий