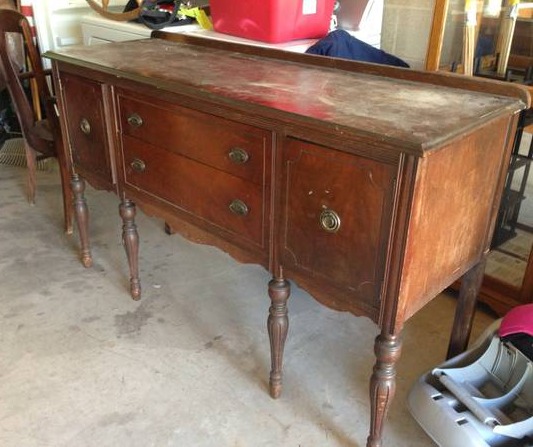
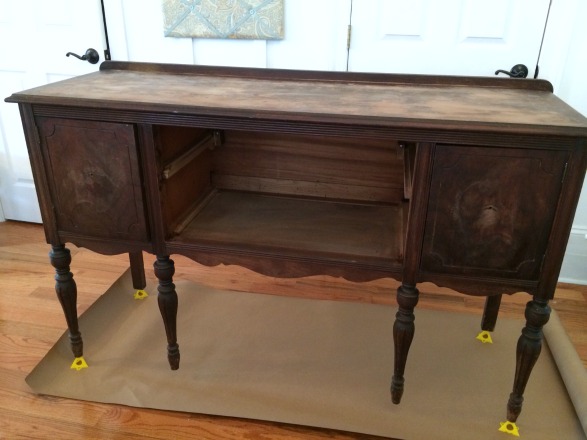
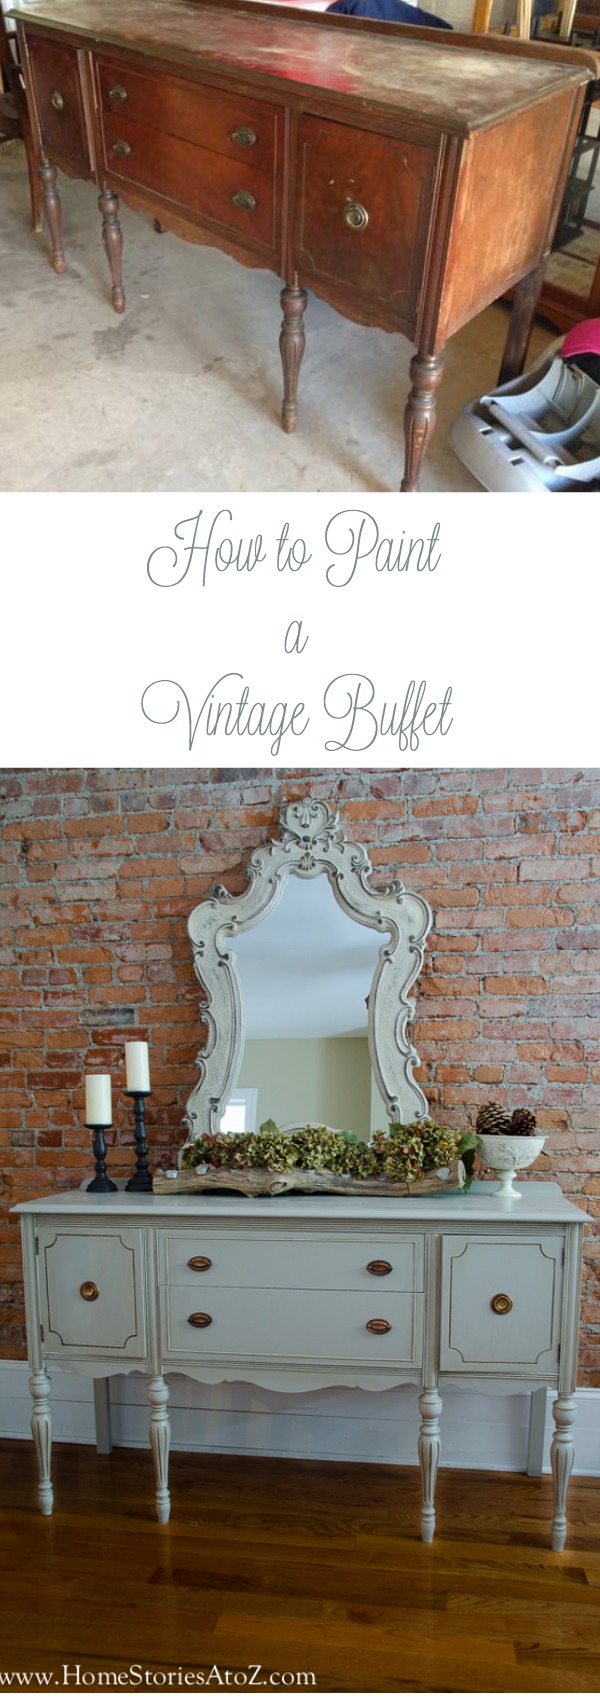
As a Lowe’s Creative Ideas blogger, each month I receive project challenges. One of the challenge themes for this month was furniture makeover! I had been trolling Craigslist for a vintage buffet for months and months to no avail. Finally this beauty popped up, and I pounced on it as quickly as my little fingers could hit “reply by email”! They were asking $120 which was more than I wanted to spend. I offered $80 and the offer was accepted. Woohoo! I asked Matt to stop at an ATM for me on his way home to get the necessary cash, and somehow he ended up with a fifty and two twenties. Of course upon purchasing no one had change for my twenty, so this $80 bargain ended up being a $90 bargain. Gah! Lesson learned. Always double check that you have exact change when picking up your Craigslist finds.
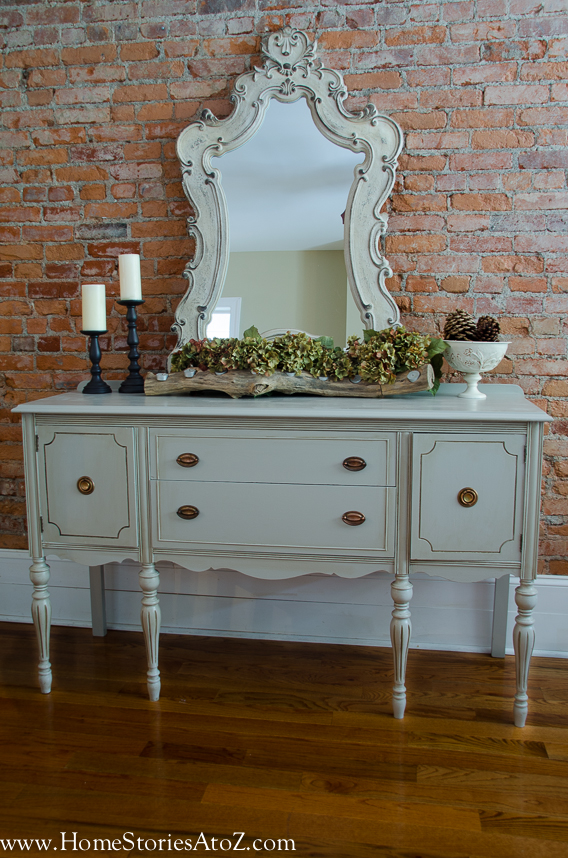
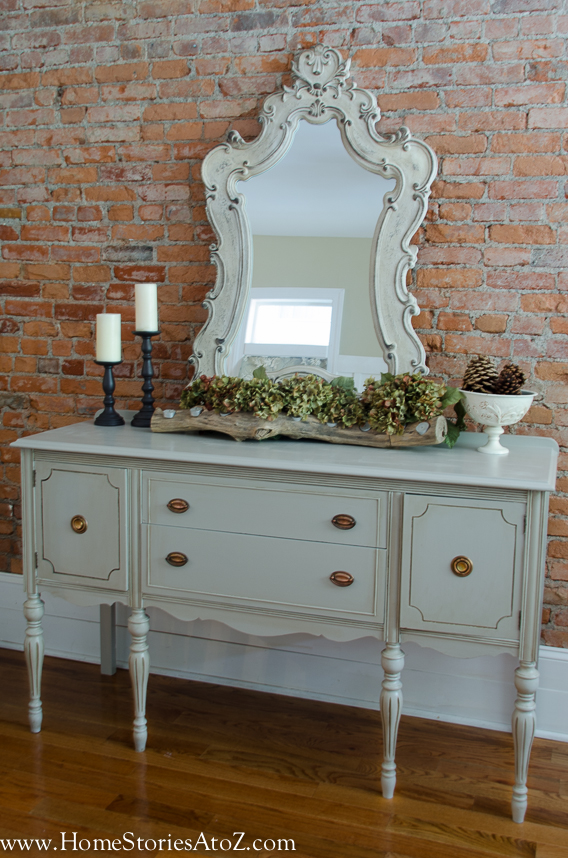
Before I share how I transformed this beauty, let me go ahead and show her off! If you’re anything like me, you get annoyed if you have to scroll, scroll, scroll to the end of a post to see the “after”. I’m thrilled with how it turned it out!
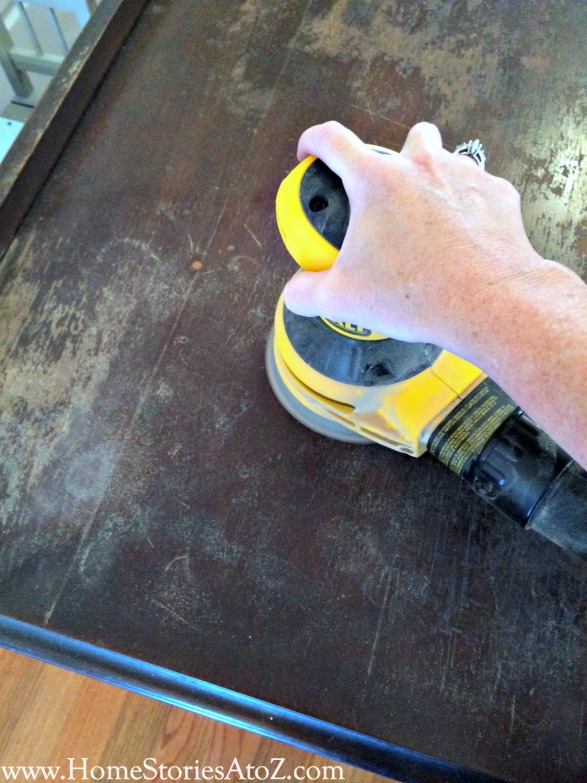
Painting Furniture Step 1: Sand if necessary.
The most important part of achieving beautifully painted furniture comes before you even pick up a brush. Prep work is a pain in the tookus, but it is vital to ensuring your piece turns out. It might seem tempting to just skip steps and dive right into the fun part, but I’ve learned (several times) the hard way that skipping steps rarely pays off in the long run. Most people hate sanding, but really it’s not that big of a deal. If your piece has 100 years of grime and deep scratches, you will want to sand. I own three sanders and hands-down my favorite sander is the Dewalt 3-Amp Orbital Sander. To achieve a smooth finish, I use a progression of varying sandpaper grits from 60, 120, to 220. The lower the number on the sand paper, the coarser the grit. Since you are painting and not staining, it is not important to get down to the bare wood. Your goal here is to achieve a smooth surface.
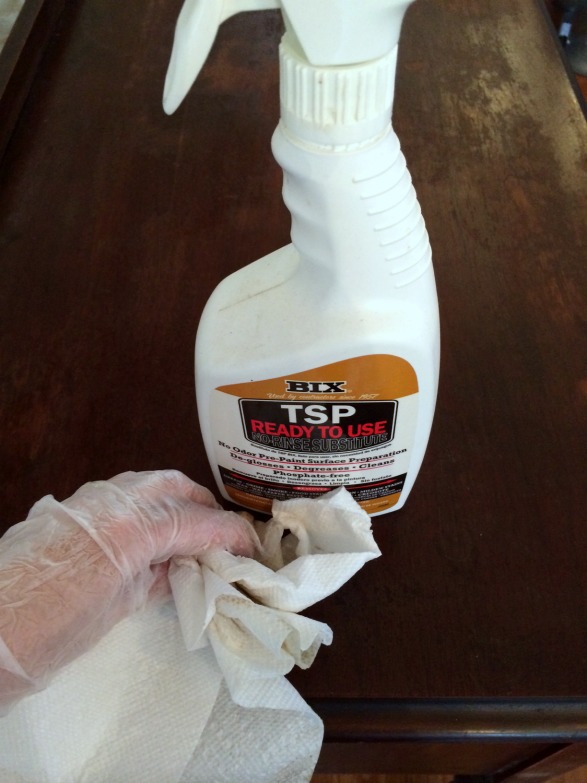
Painting Furniture Step 2: Clean with TSP.
After my piece was sanded to my liking, I cleaned it with TSP which deglosses, degreases, and cleans the furniture. Follow the directions and safety precautions on the bottle. It’s important to wear gloves, and I like to wear a respirator whenever working with chemicals. You will be amazed at how much gunk comes off your furniture! I just use paper towels so that clean-up is easy.
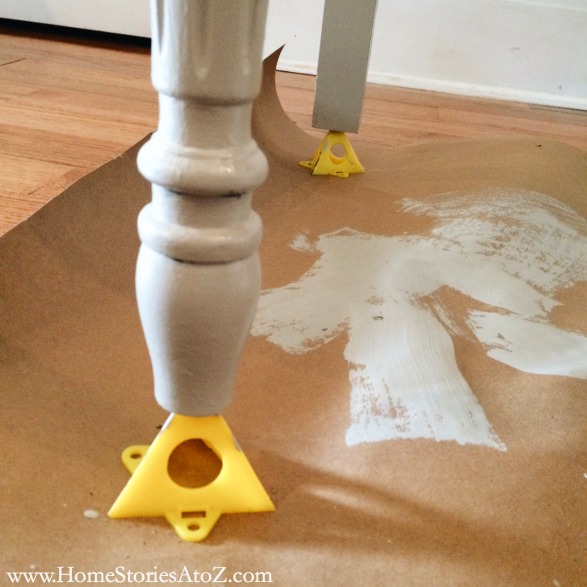
This is what the piece looked like after sanding and cleaning. Oh, and one more quick painting tip for you! PAINTER’S PYRAMIDS are awesome.
I shared this tip on Instagram a few days ago and was surprised by how many people had never heard of these little guys. You slip them under the corners of your furniture, doors, boards, cabinets, etc. to make painting edges easier. I’ve used them for years and find them to be such a time saver. You can find painter’s triangles/pyramids in the paint section of Lowes, typically by the brushes. If you’re having trouble finding them, just ask someone at the paint counter and they will help you.
Painting Furniture Step 3: Apply your paint.
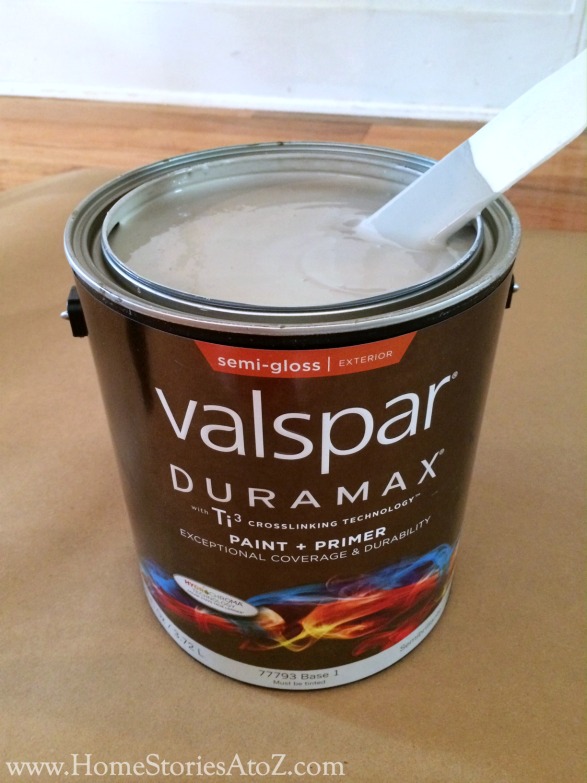
Choosing the right paint for your project is a matter of personal preference. For this piece, I chose Valspar Duramax in Valspar Montpelier Ashlar Gray. I also plan to use this paint on some outdoor furniture and thought it would be the best choice for my projects. (Note: It is not recommended to use an exterior paint indoors due to the mildewcides/fungicides contained in exterior paints. I haven’t had any trouble with VOC’s or off-gassing of this piece and the paint was very thick with excellent coverage.) When painting furniture, I typically like working with chalky-finish paints and milk paints, and I also love the durability provided by an oil-based or enamel-based paint. Latex paints are plasticky, and I just find them trickier to work with on wood furniture. All that being said, this paint had amazingly thick coverage and gave me a beautiful finish.
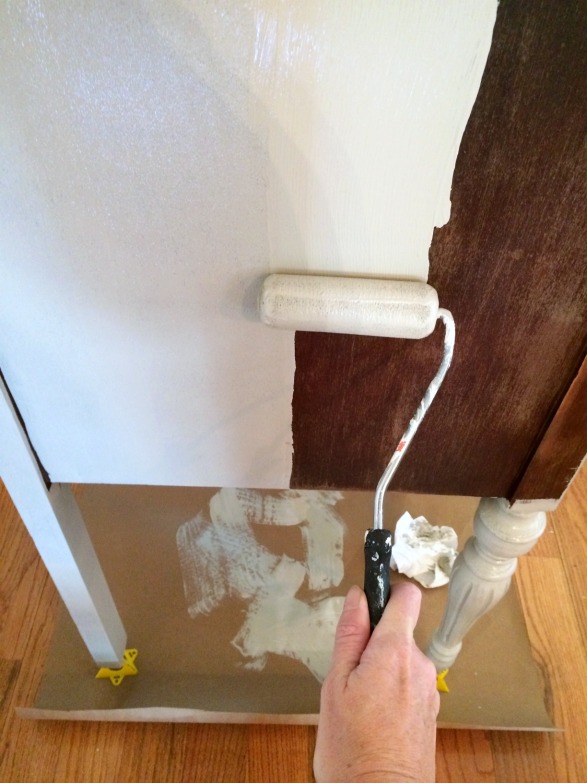
I like to use a small foam roller for the flat surfaces on furniture and a 2 inch Purdy brush for the rest. When painting, try not to roll or brush over an area too much. It can be tempting to want to achieve max coverage with your first coat but over-rolling can pull up the paint and create a mess. If this happens, don’t panic. You can wait for it to dry, sand it smooth, and repaint. Thin coats of paint with proper dry time in between coats will always turn out better than one thick coat. I used two coats of paint and waited about 12 hours between each coat. I’ve had too many bad experiences with paint to know that patience is key!
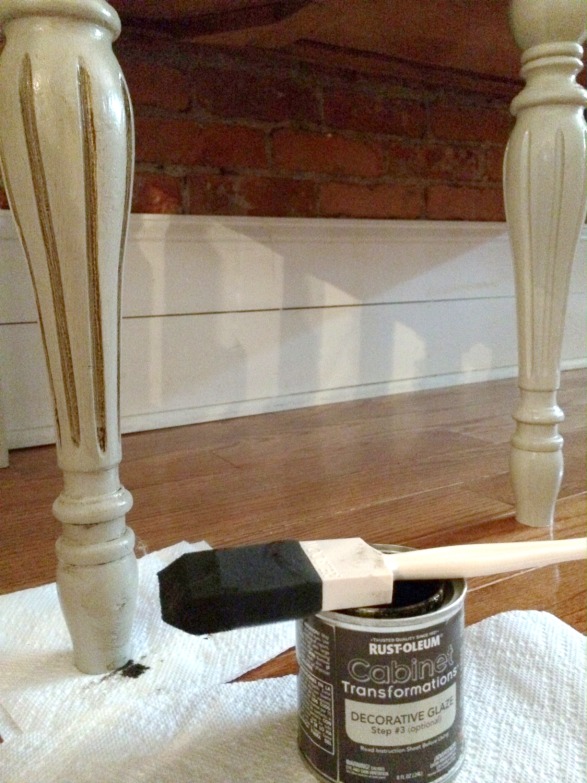
Painting Furniture Step 4 (Optional): Glaze your furniture.
Glaze is a thin translucent layer of color that you paint over the top of your painted surface. You can make your own glaze or buy pre-made glazes. I hadn’t initially planned on glazing this piece, but after staring at it for a day it just seemed to lack depth and character. I had some Rustoleum glaze left over from a previous project so decided to use it on my buffet. To apply glaze, I like to use a small foam brush and just apply it in all of the nooks and crannies of the piece. You then use a rag or paper towel to wipe off the excess glaze. The glaze will stay in the cracks of your piece, bringing them to life. You can see the difference in the picture below between the glazed leg and the un-glazed leg.
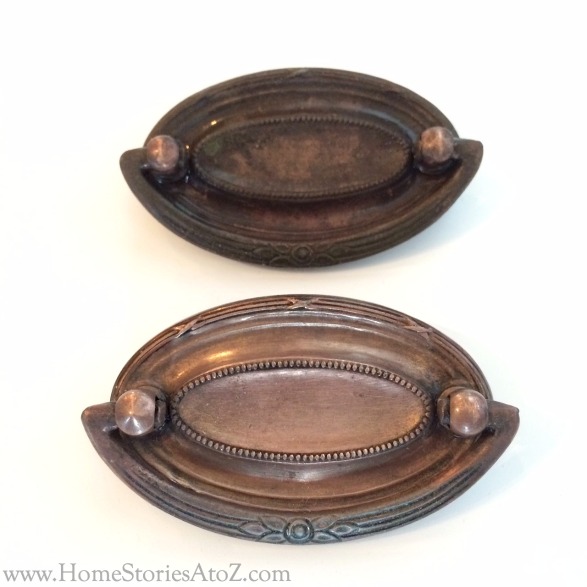
Painting Furniture Step 5: Renew your vintage hardware.
This is a great tip for you! To renew your brass or copper vintage hardware soak them in fresh lemon juice for an hour or so. Then use salt as a scrub and the actual lemon as your “scrub brush”. The results are amazing. You can see the difference between the “cleaned with lemon and salt” pull on the bottom and the dirty pull on top.
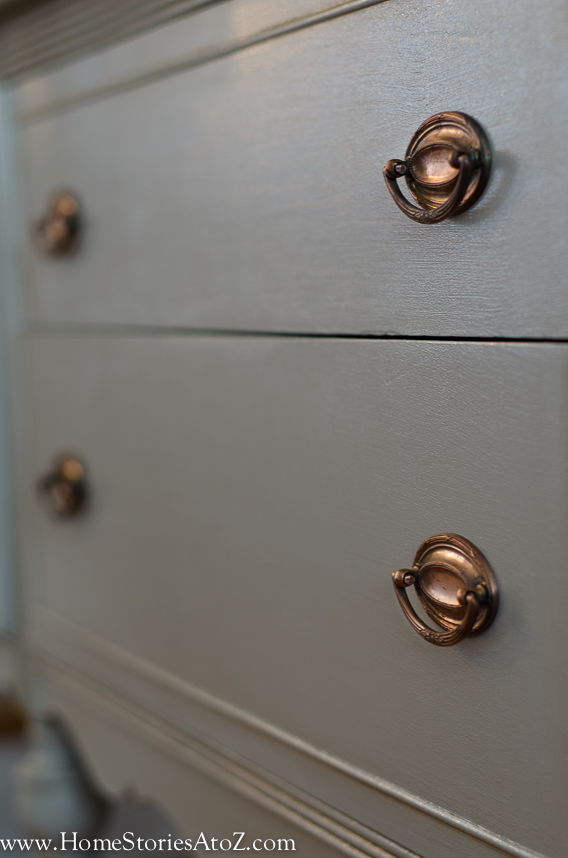
I love their renewed sheen!
And here is one more reminder of where we started and where we ended up…
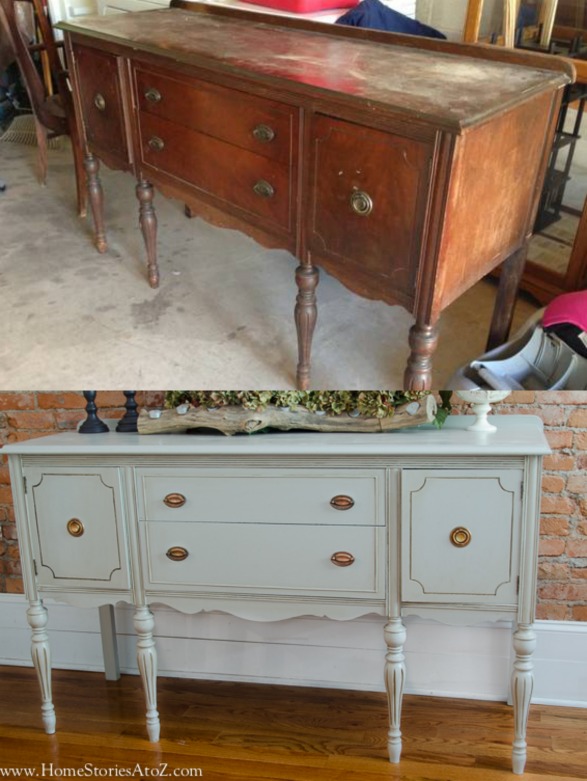
This piece will end up being used as an entertainment unit in our living room, but for now it is looking glamorous on the brick wall.
Pin this project for later.
For even more DIY ideas, be sure to visit Lowes Creative Ideas and follow along with Lowe’s on Pinterest or on Instagram! You can sign up to receive their free Creative Ideas Magazine. There’s also a magazine app which includes additional features such as a few projects from the Lowes Creative Ideas bloggers.

Disclosure: I am a Lowes Creative blogger and this post is sponsored by Lowes. All ideas, thoughts, and projects are my own.
Original article and pictures take www.homestoriesatoz.com site
Комментариев нет:
Отправить комментарий