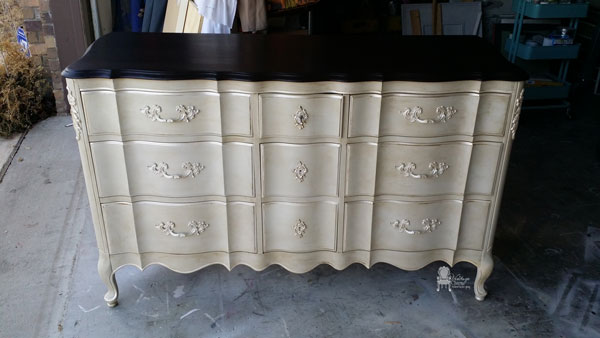
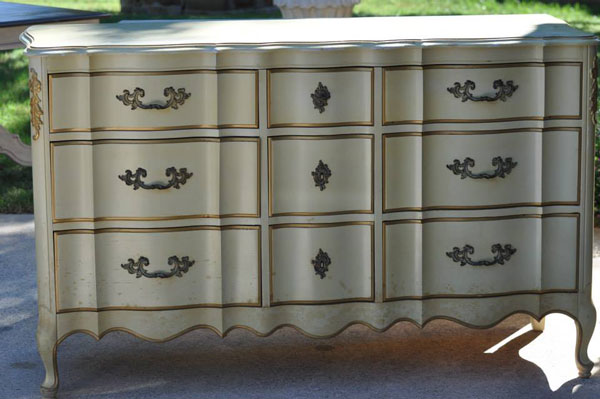
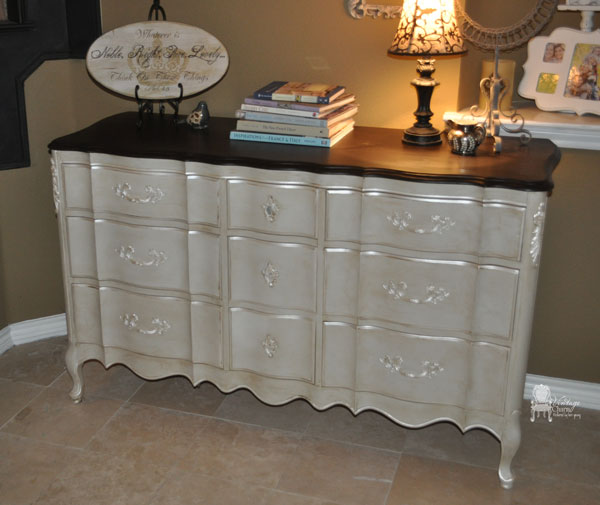
Oh this dresser… this French provincial triple dresser. It had seen much better days by the time I got a hold of it. It was covered with cigarette burns and the top was chipping away. It smelled of smoke and needed some love!! But who doesn’t like a challenge??
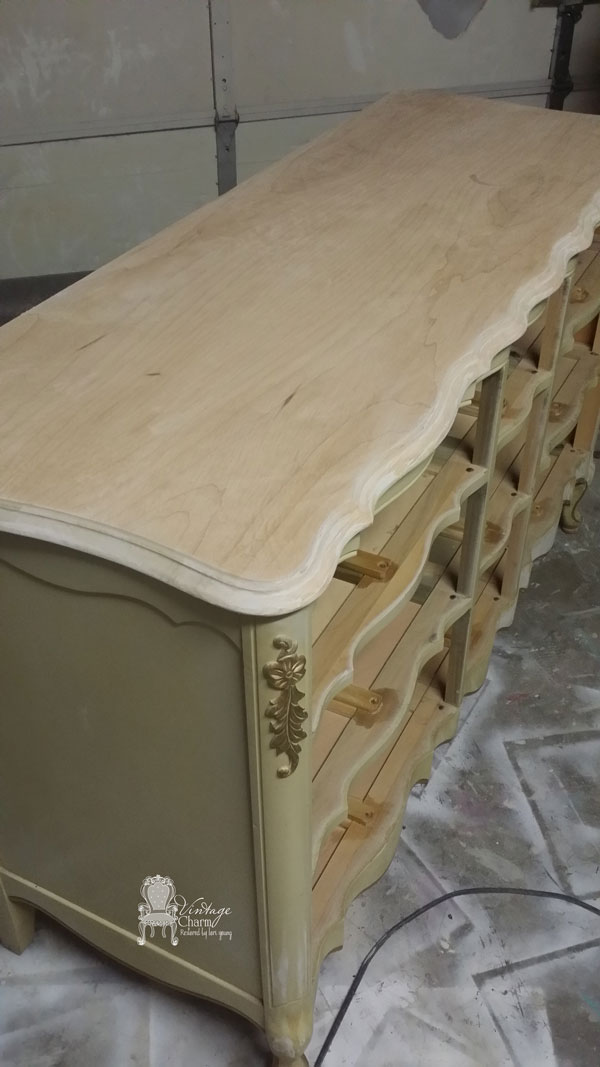
To start off I thoroughly cleaned her. Which I do with every piece but this one was going to need more love than most. I used soap and water to start, and then a hot vinegar solution, and then the trusty TSP…. I threw away all of the rags that were drenched in that horrible smell. Don’t forget to wipe down the inside tracks and drawers as well. This got rid of the smell, but if it doesn’t don’t stop cleaning!! The top needed to be completely sanded down and I was up to the task. Which took 2 different strippers and a whole lot of sanding!! I mean a whole lot of sanding!! Those old finishes were meant to last if not abused!!
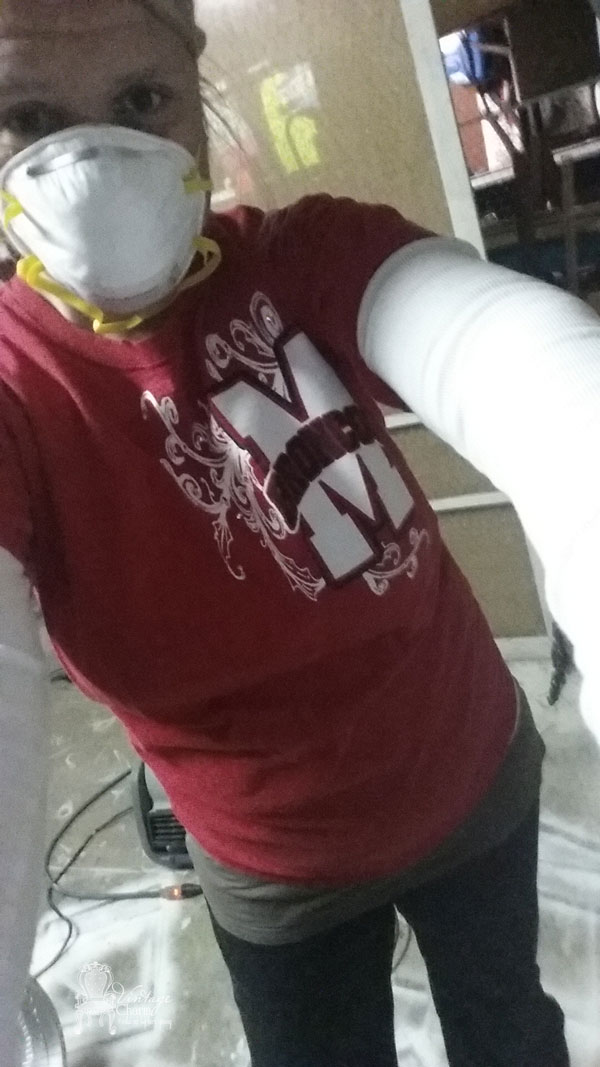
Be sure to always be prepared- wear a mask. You don’t want to breathe in the stuff coming off. When stripping always wear gloves and long sleeves and be cautious to how and where you are removing the old finish. Most of all take your time and do it right the first time!! This job is so glamorous!!
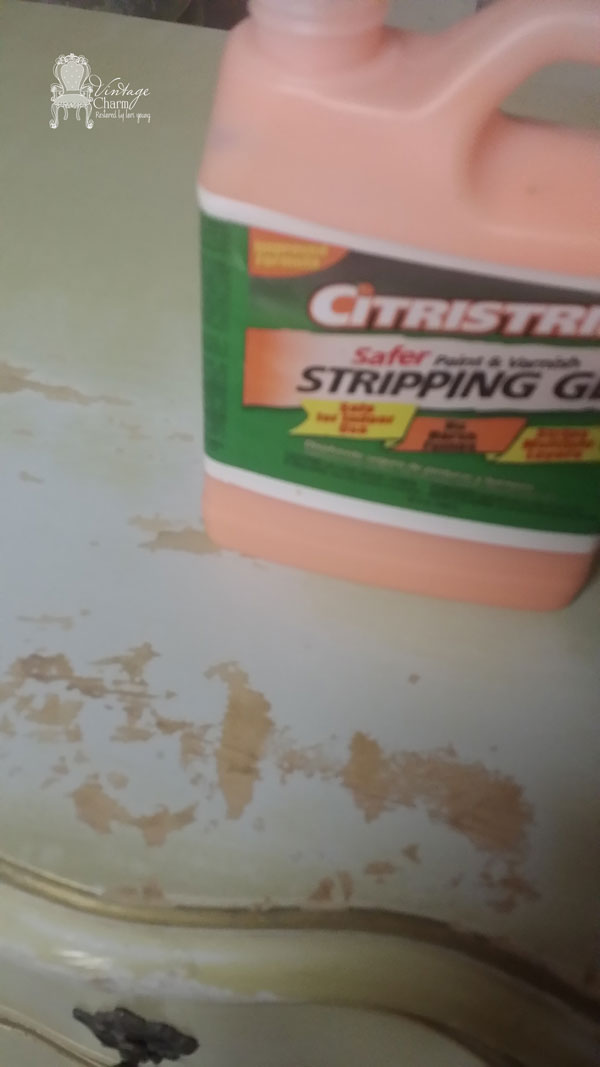
I started with Citristrip gel and it wasn’t strong enough. After I got that layer off, I sprayed on Kleen Strip waited for about 15 minutes and went after it. It did a pretty good job but still wasn’t completely off. I sanded with an 80- be sure to use even pressure so you don’t get swirly marks… and then went to 150 grit and then to 220 grit and then by hand I used 400 grit. Completely clean the dust off with wet rag and then let dry.
I painted the entire base out in American Paint Company’s Plymouth Rock. It is a very soft vintage pale gray. For this top I used a new product to me and I am in LOVE!!
General Finishes Java Gel Stain was the perfect fit for a beautiful top on this!!
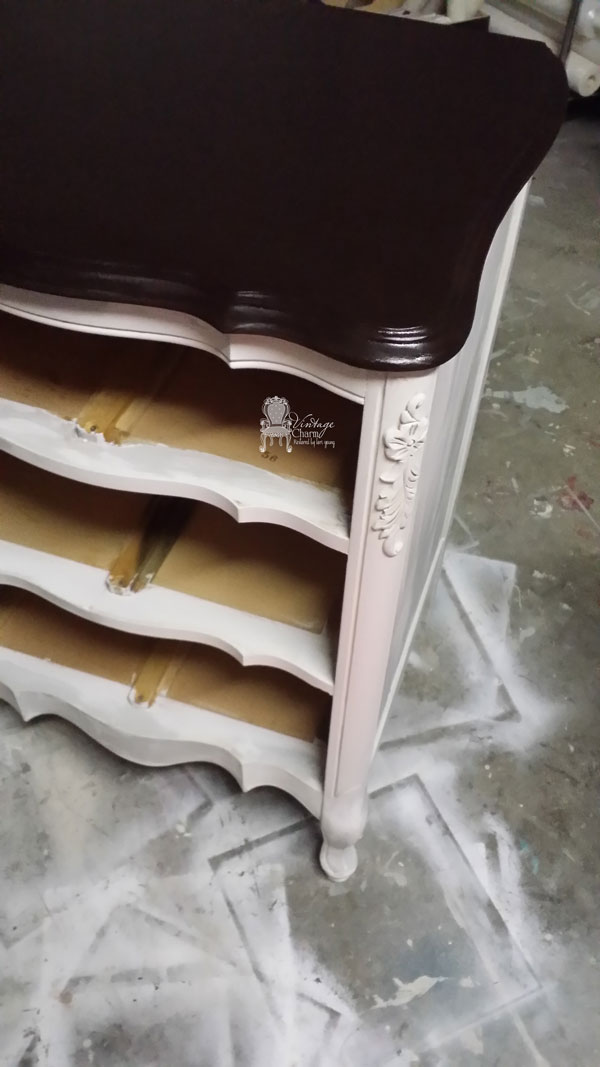
I think when you are painting out a piece that has detail it is easier to paint out the entire thing in your base color and then go back with an artist brush and paint out the detail colors. Slow and steady hand and you won’t have much touch up to do. I did very minimal accenting on this piece because I went with the darker top. I didn’t want it to become too busy. My original plan was to paint out in metallic but once I sanded the top down- my vision completely changed. I say go with it when that happens.
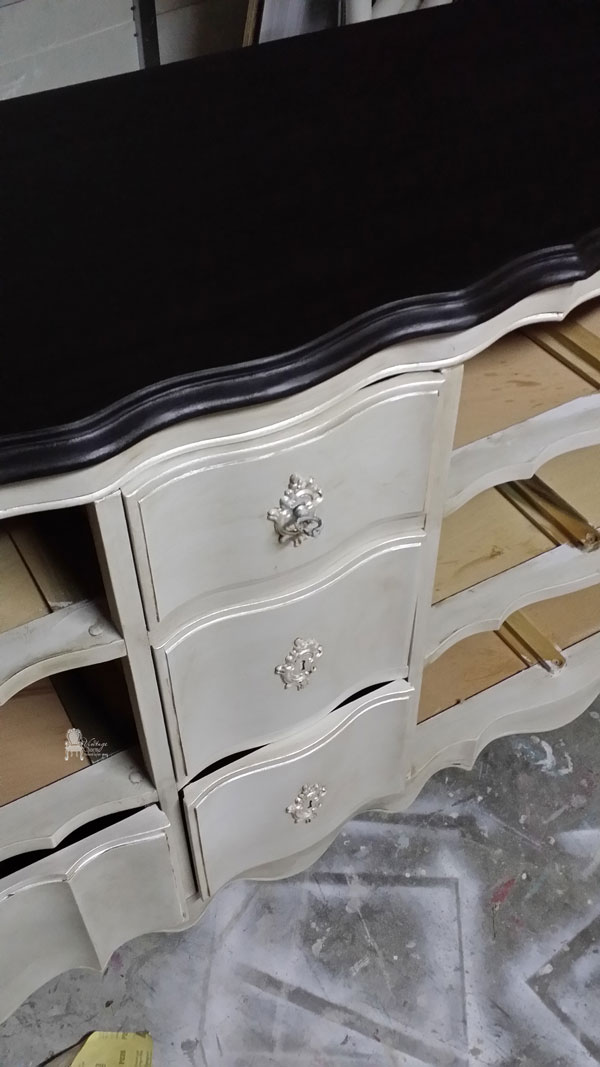
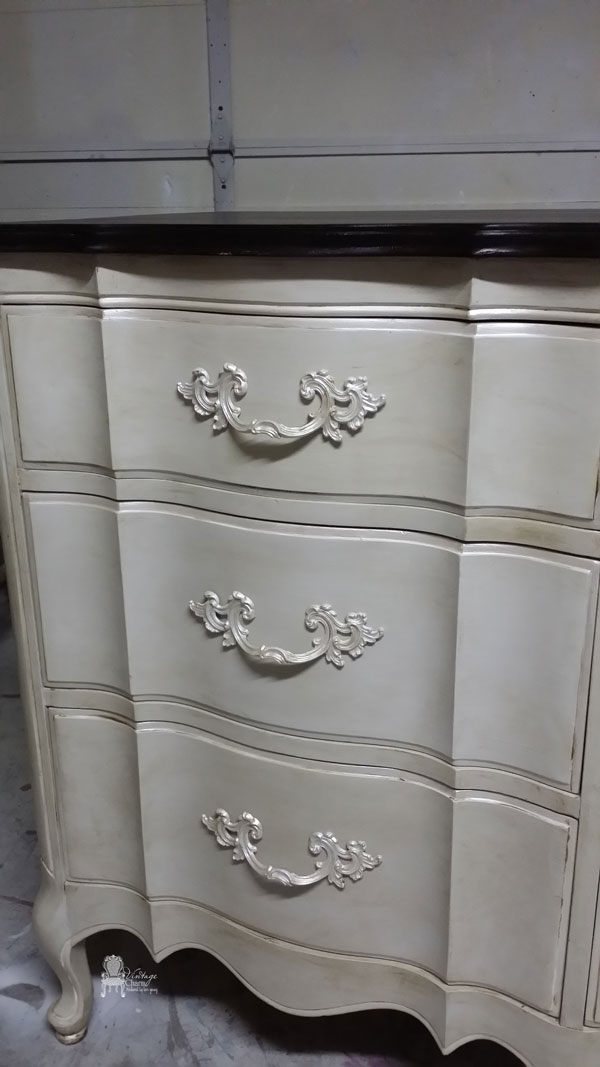
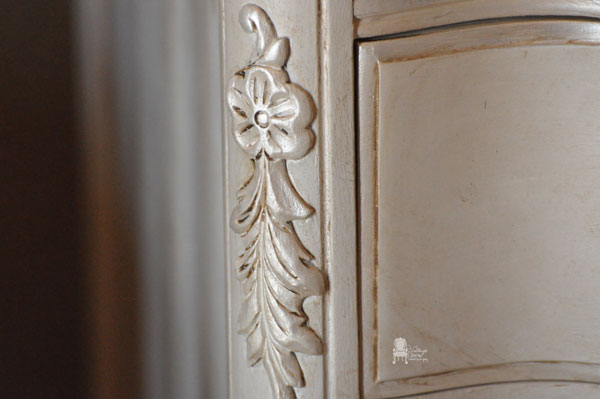
So you can see I brought in some metallic. I trimmed out all the drawers and the lines with American Paint Company’s Navajo White and then went over it with Modern Masters Oyster. It’s just the perfect pearl iridescent color. Not opaque so you will need to do more coats for more effect. I have used it a number of times for subtle accents… you can see it here on Mia’s bed.
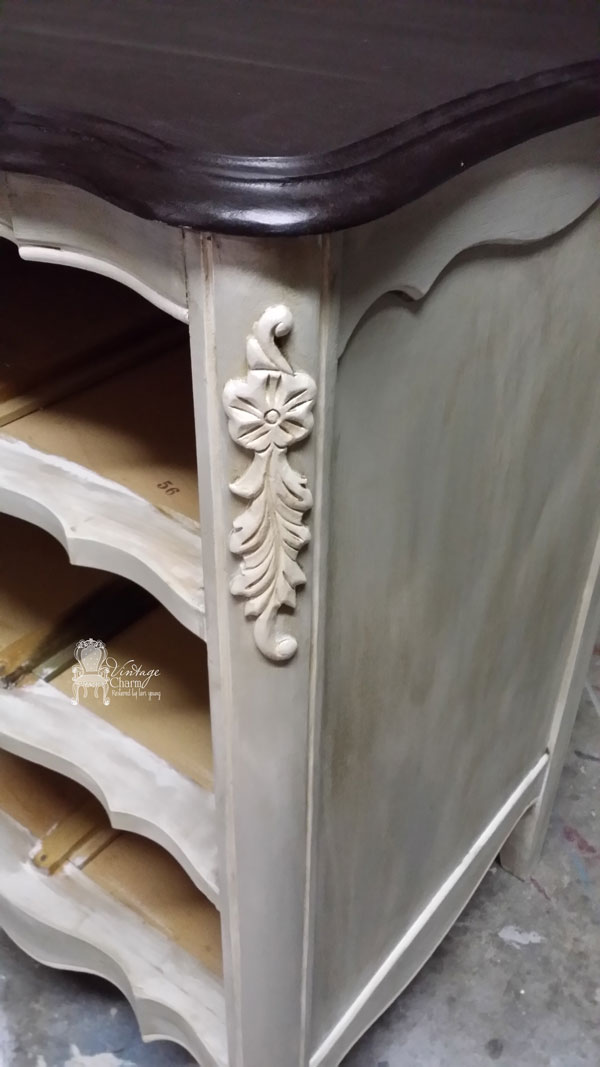
I decided not to distress- meaning no sanding to bring out the finish underneath. I used a mix of clear and dark waxes to add that vintage aged feel.
You can see this picture below is during the drying period of your wax. I love the way the American Paint changes during the waxing… it’s like a fool proof guide to let you know when your wax is completely dry. The darker splotches in this picture are the areas that the wax is not completely dry yet.
I love how it finished it out.

Tomorrow I will walk through how I paint out my hardware for a long lasting finish. Thanks for stopping by.
This dresser is for sale!!
~Lori
Sharing over at:
Original article and pictures take www.vintagecharmrestored.com site
Комментариев нет:
Отправить комментарий